Electronics Prototyping
Incubating eggs with Arduino
The idea was to use arduino to prototype a simple incubator, see if it works and then hatch eggs. The first try was succesful with one egg and later on with two eggs. Although the yield is pathetic, I had fun building it and waiting the whole 18 days to see if it hatches!
Execution
Working Prototype with Arduino
Project Duration
21 days
Here are the sketch files for Arduino and NodeMCU to build this incubator. Download
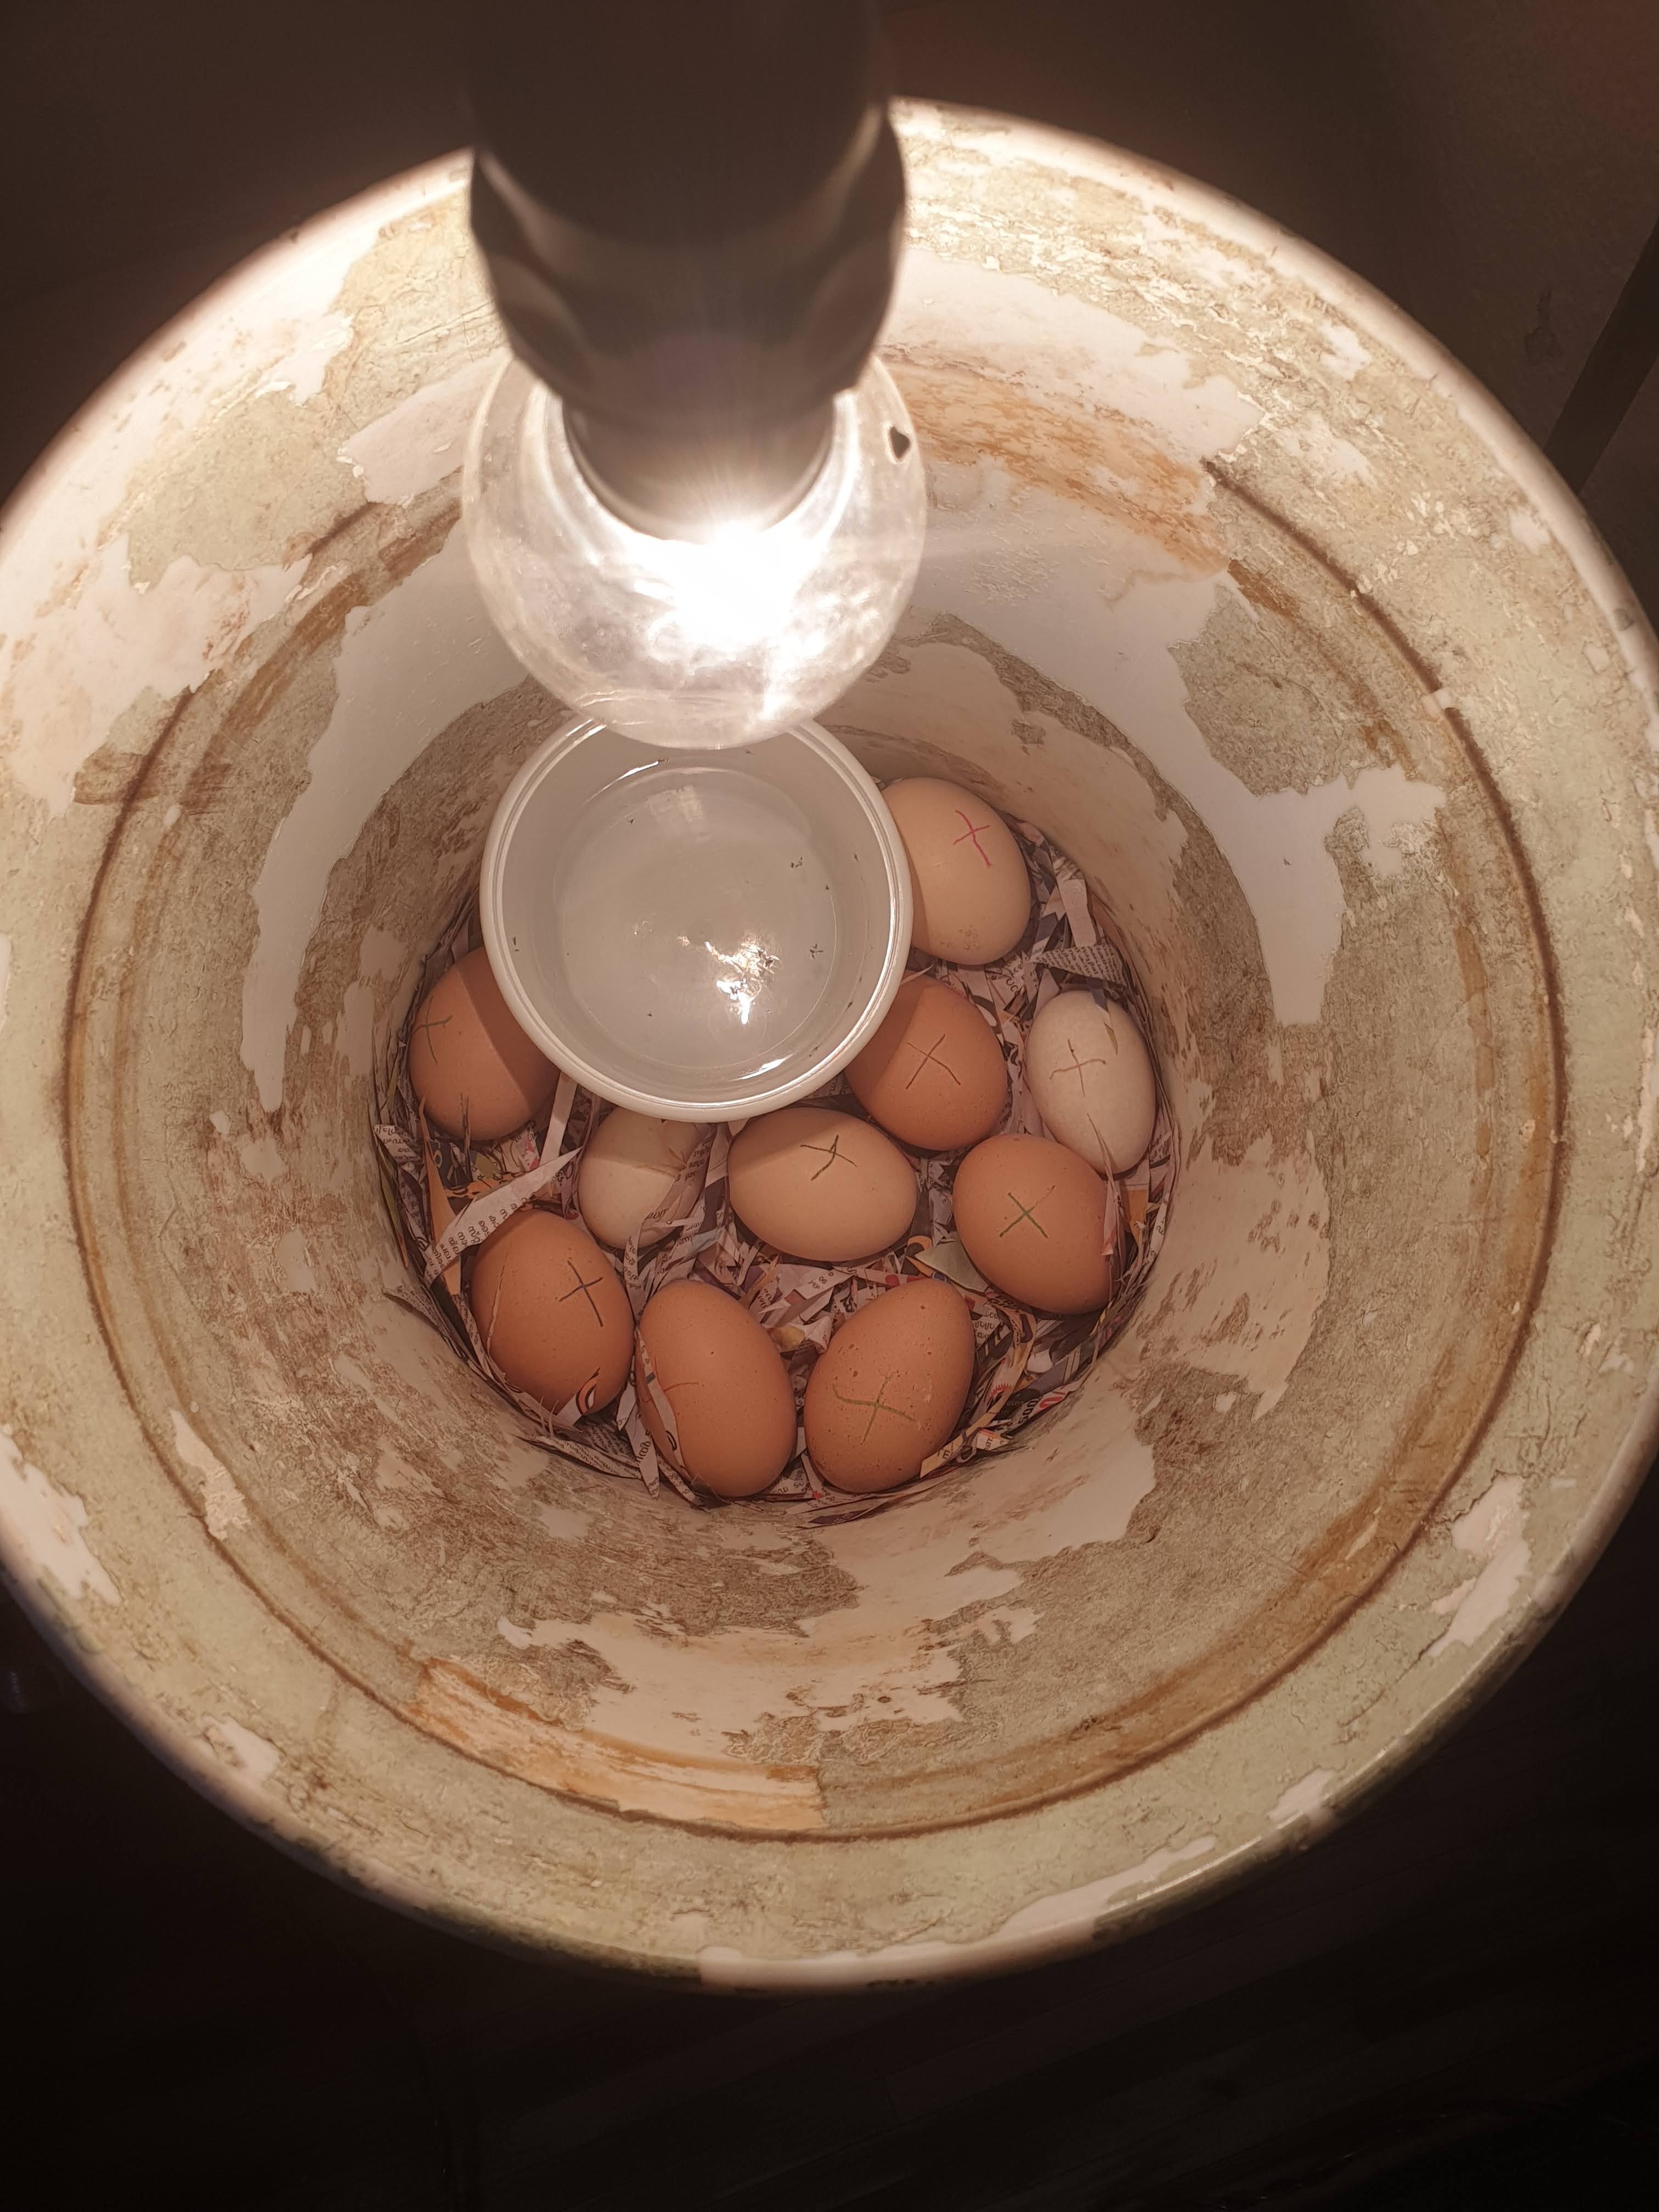
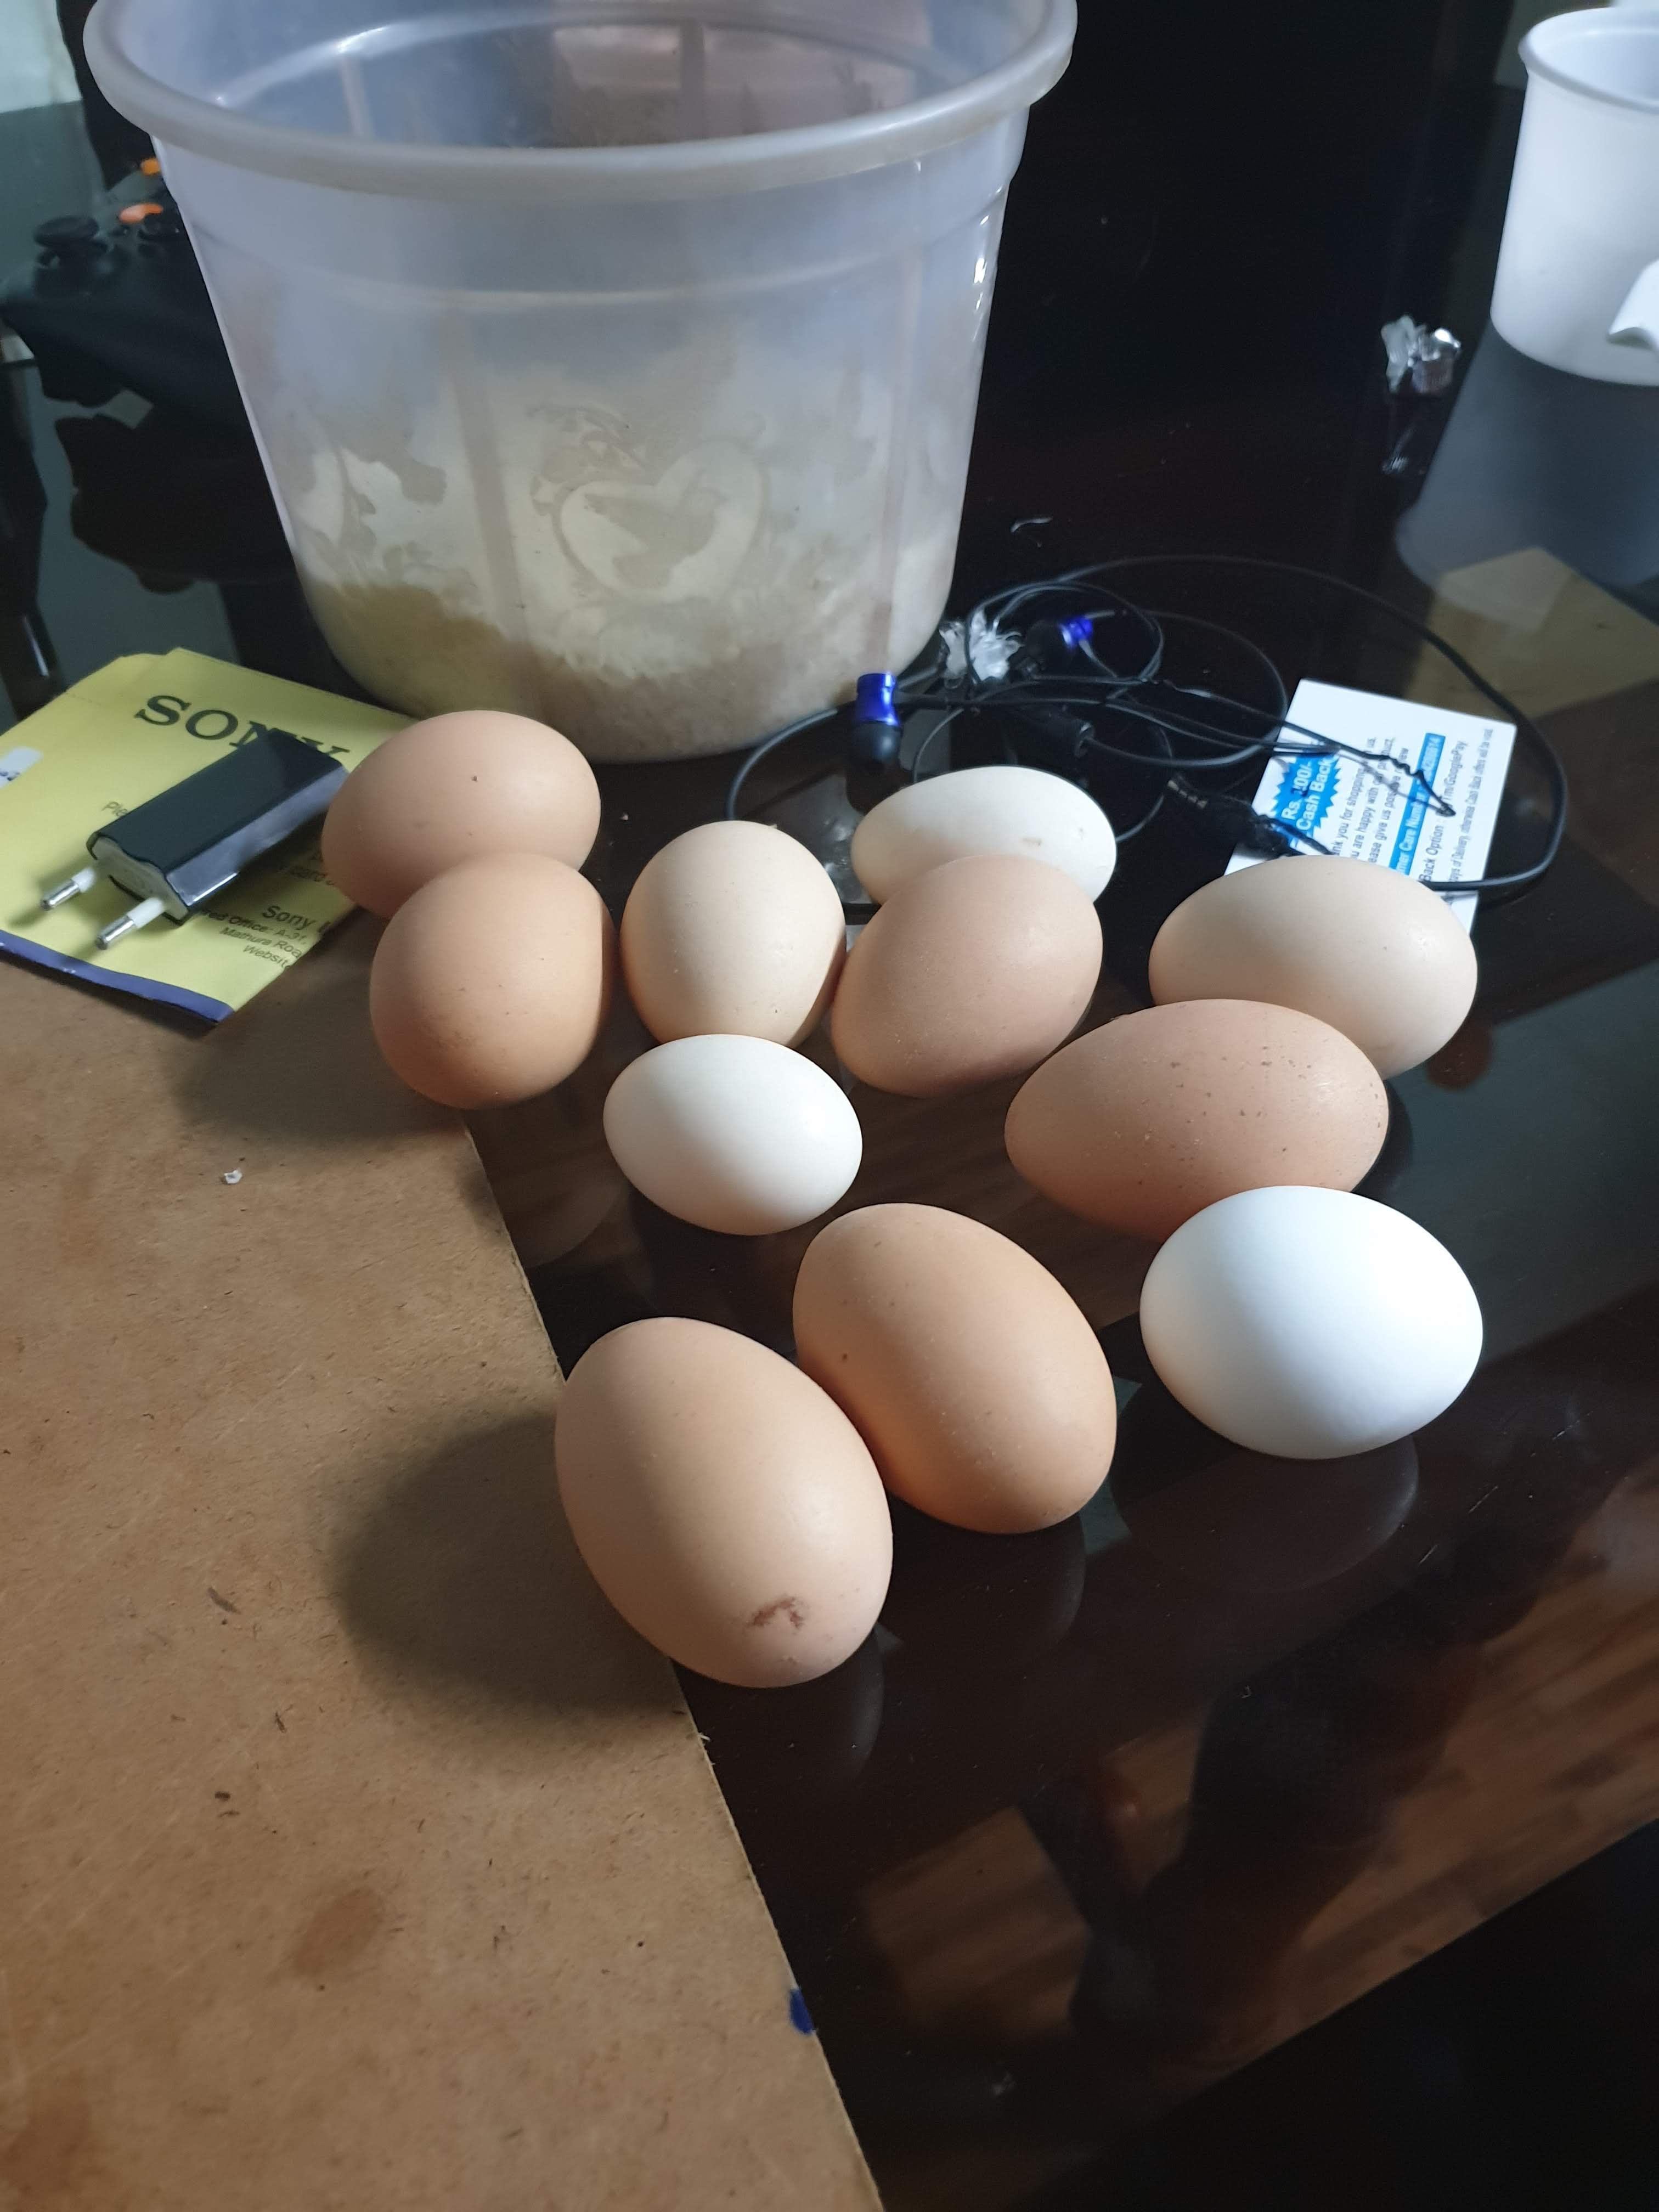
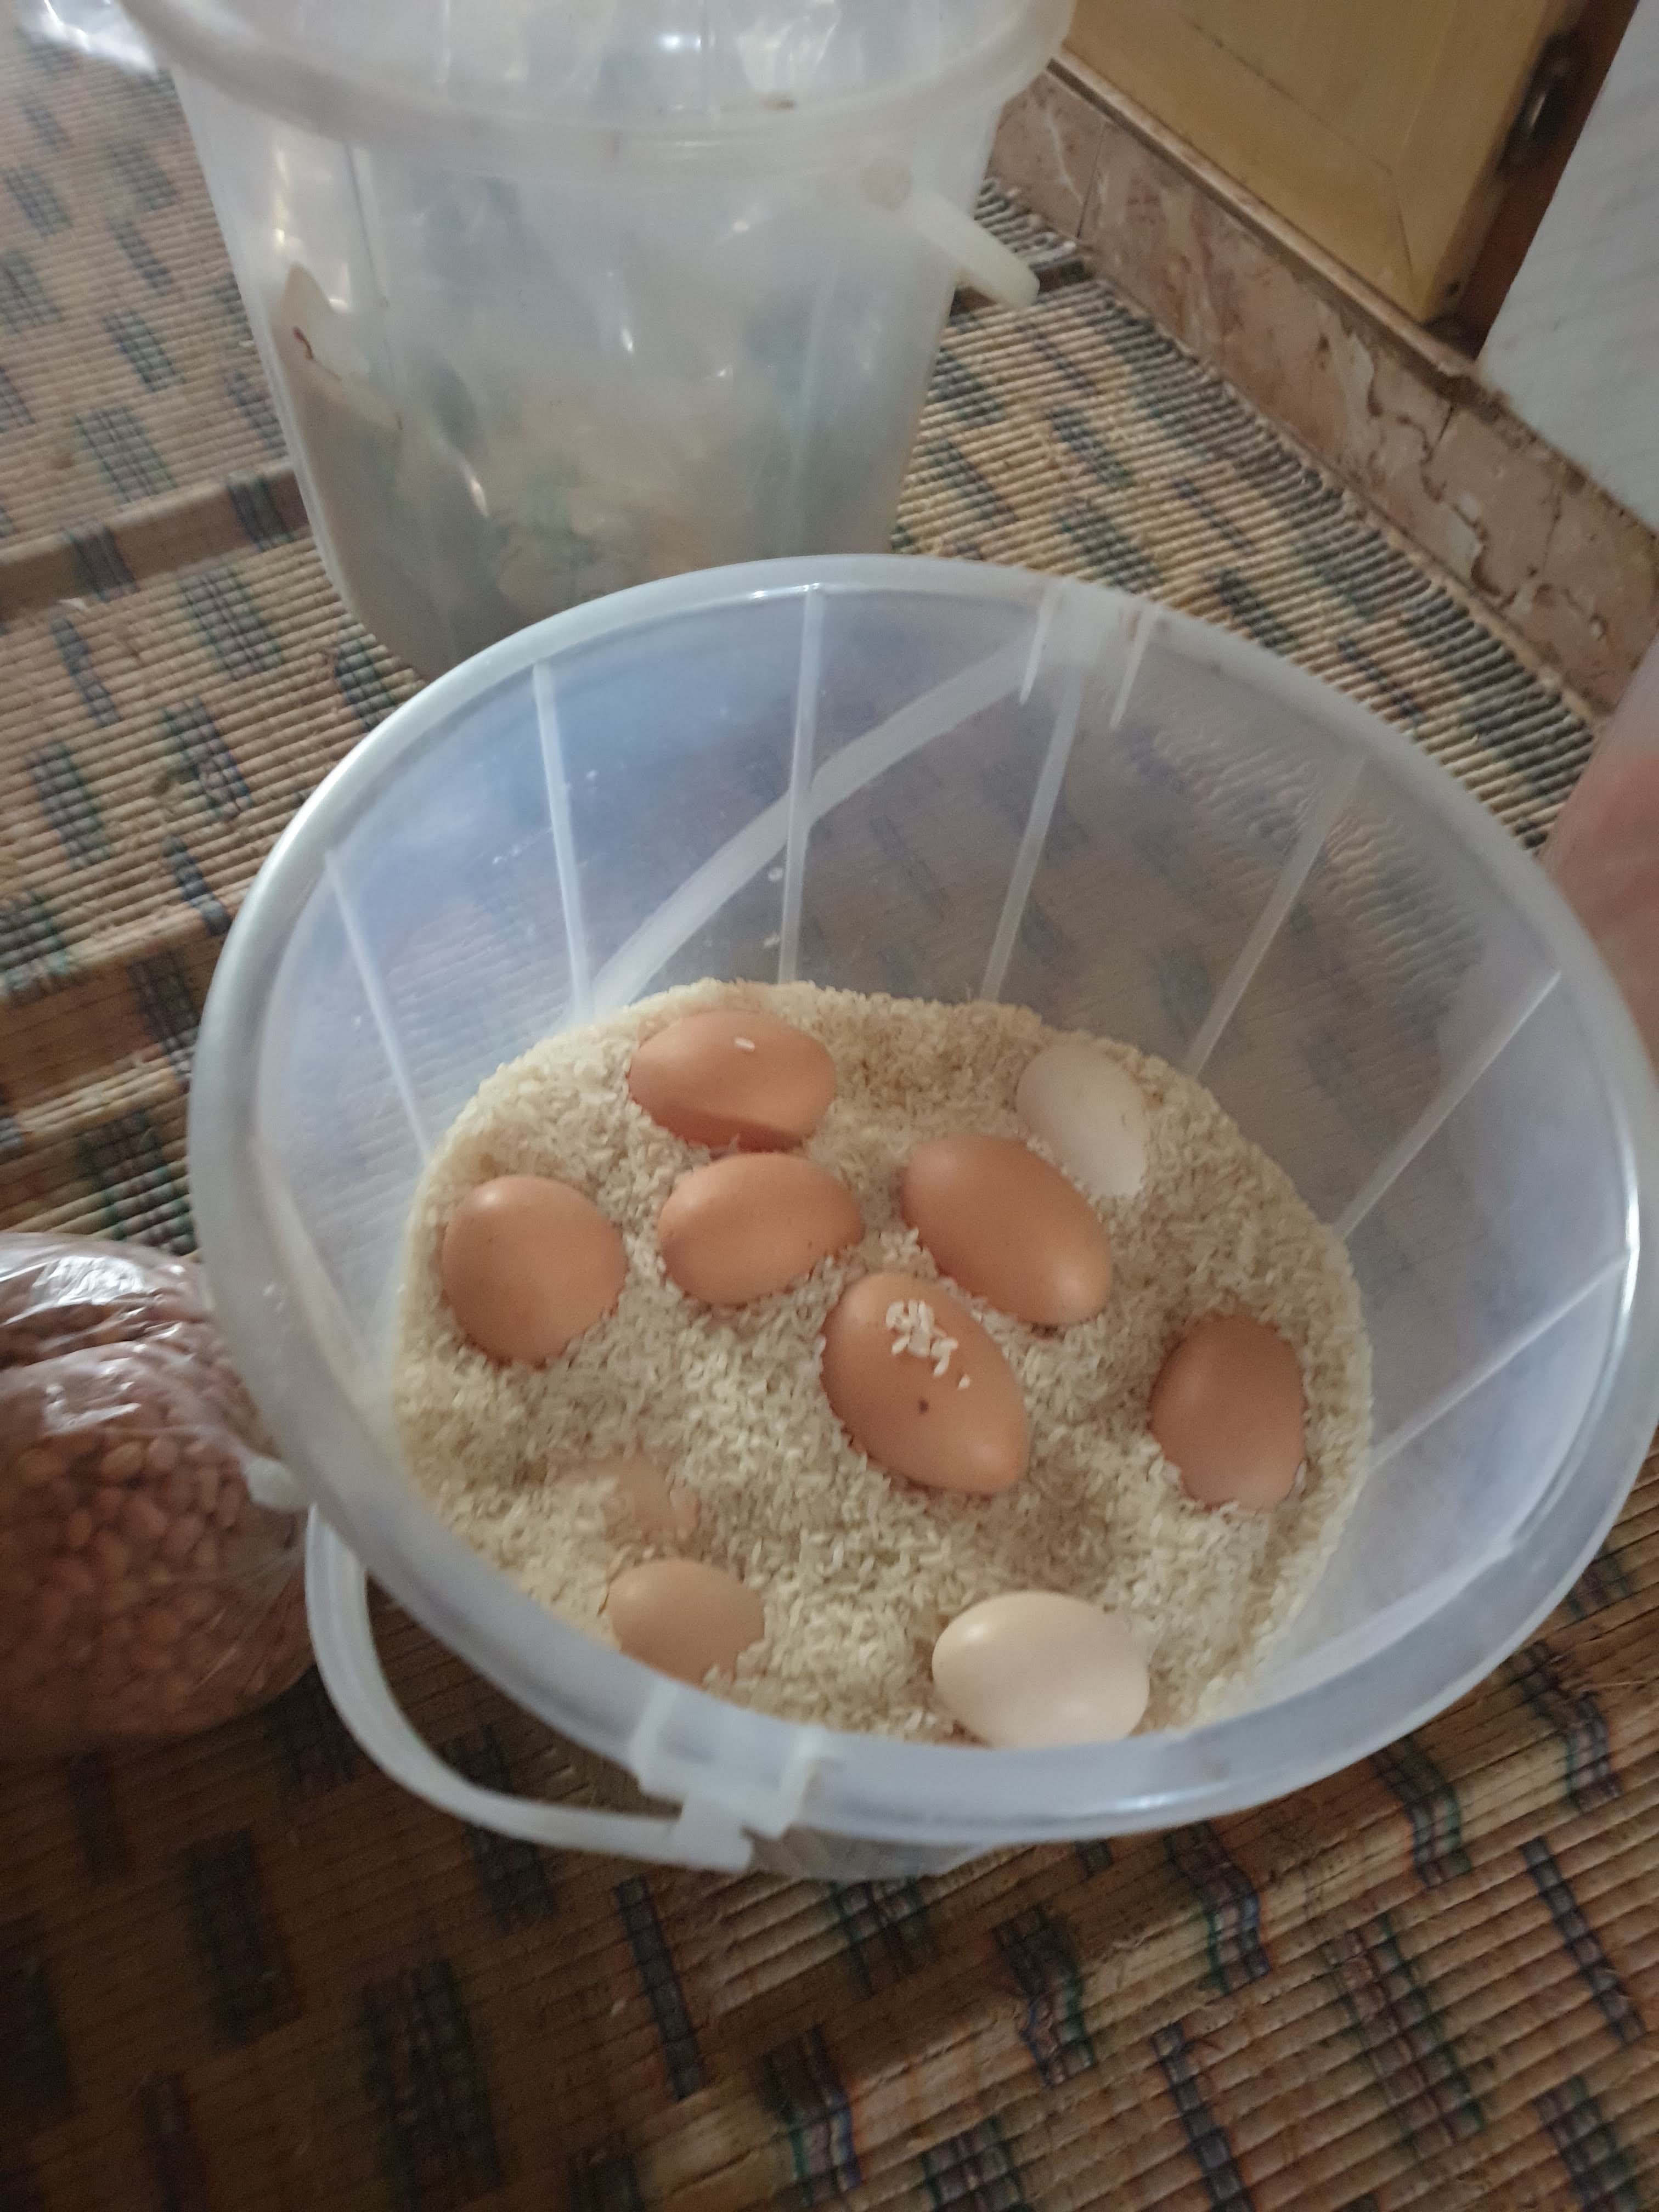
The eggs are marked, kept with paper cutouts to absord any extra moisture and the water is kept to maintain the moisture content throughout the 18 days of egg's development. The eggs need to be turned everyday twice - thus helping embryo develop evenly without complications. In a later stage, this process needs to completely automated.
Some examples of how youtubers have achieved this
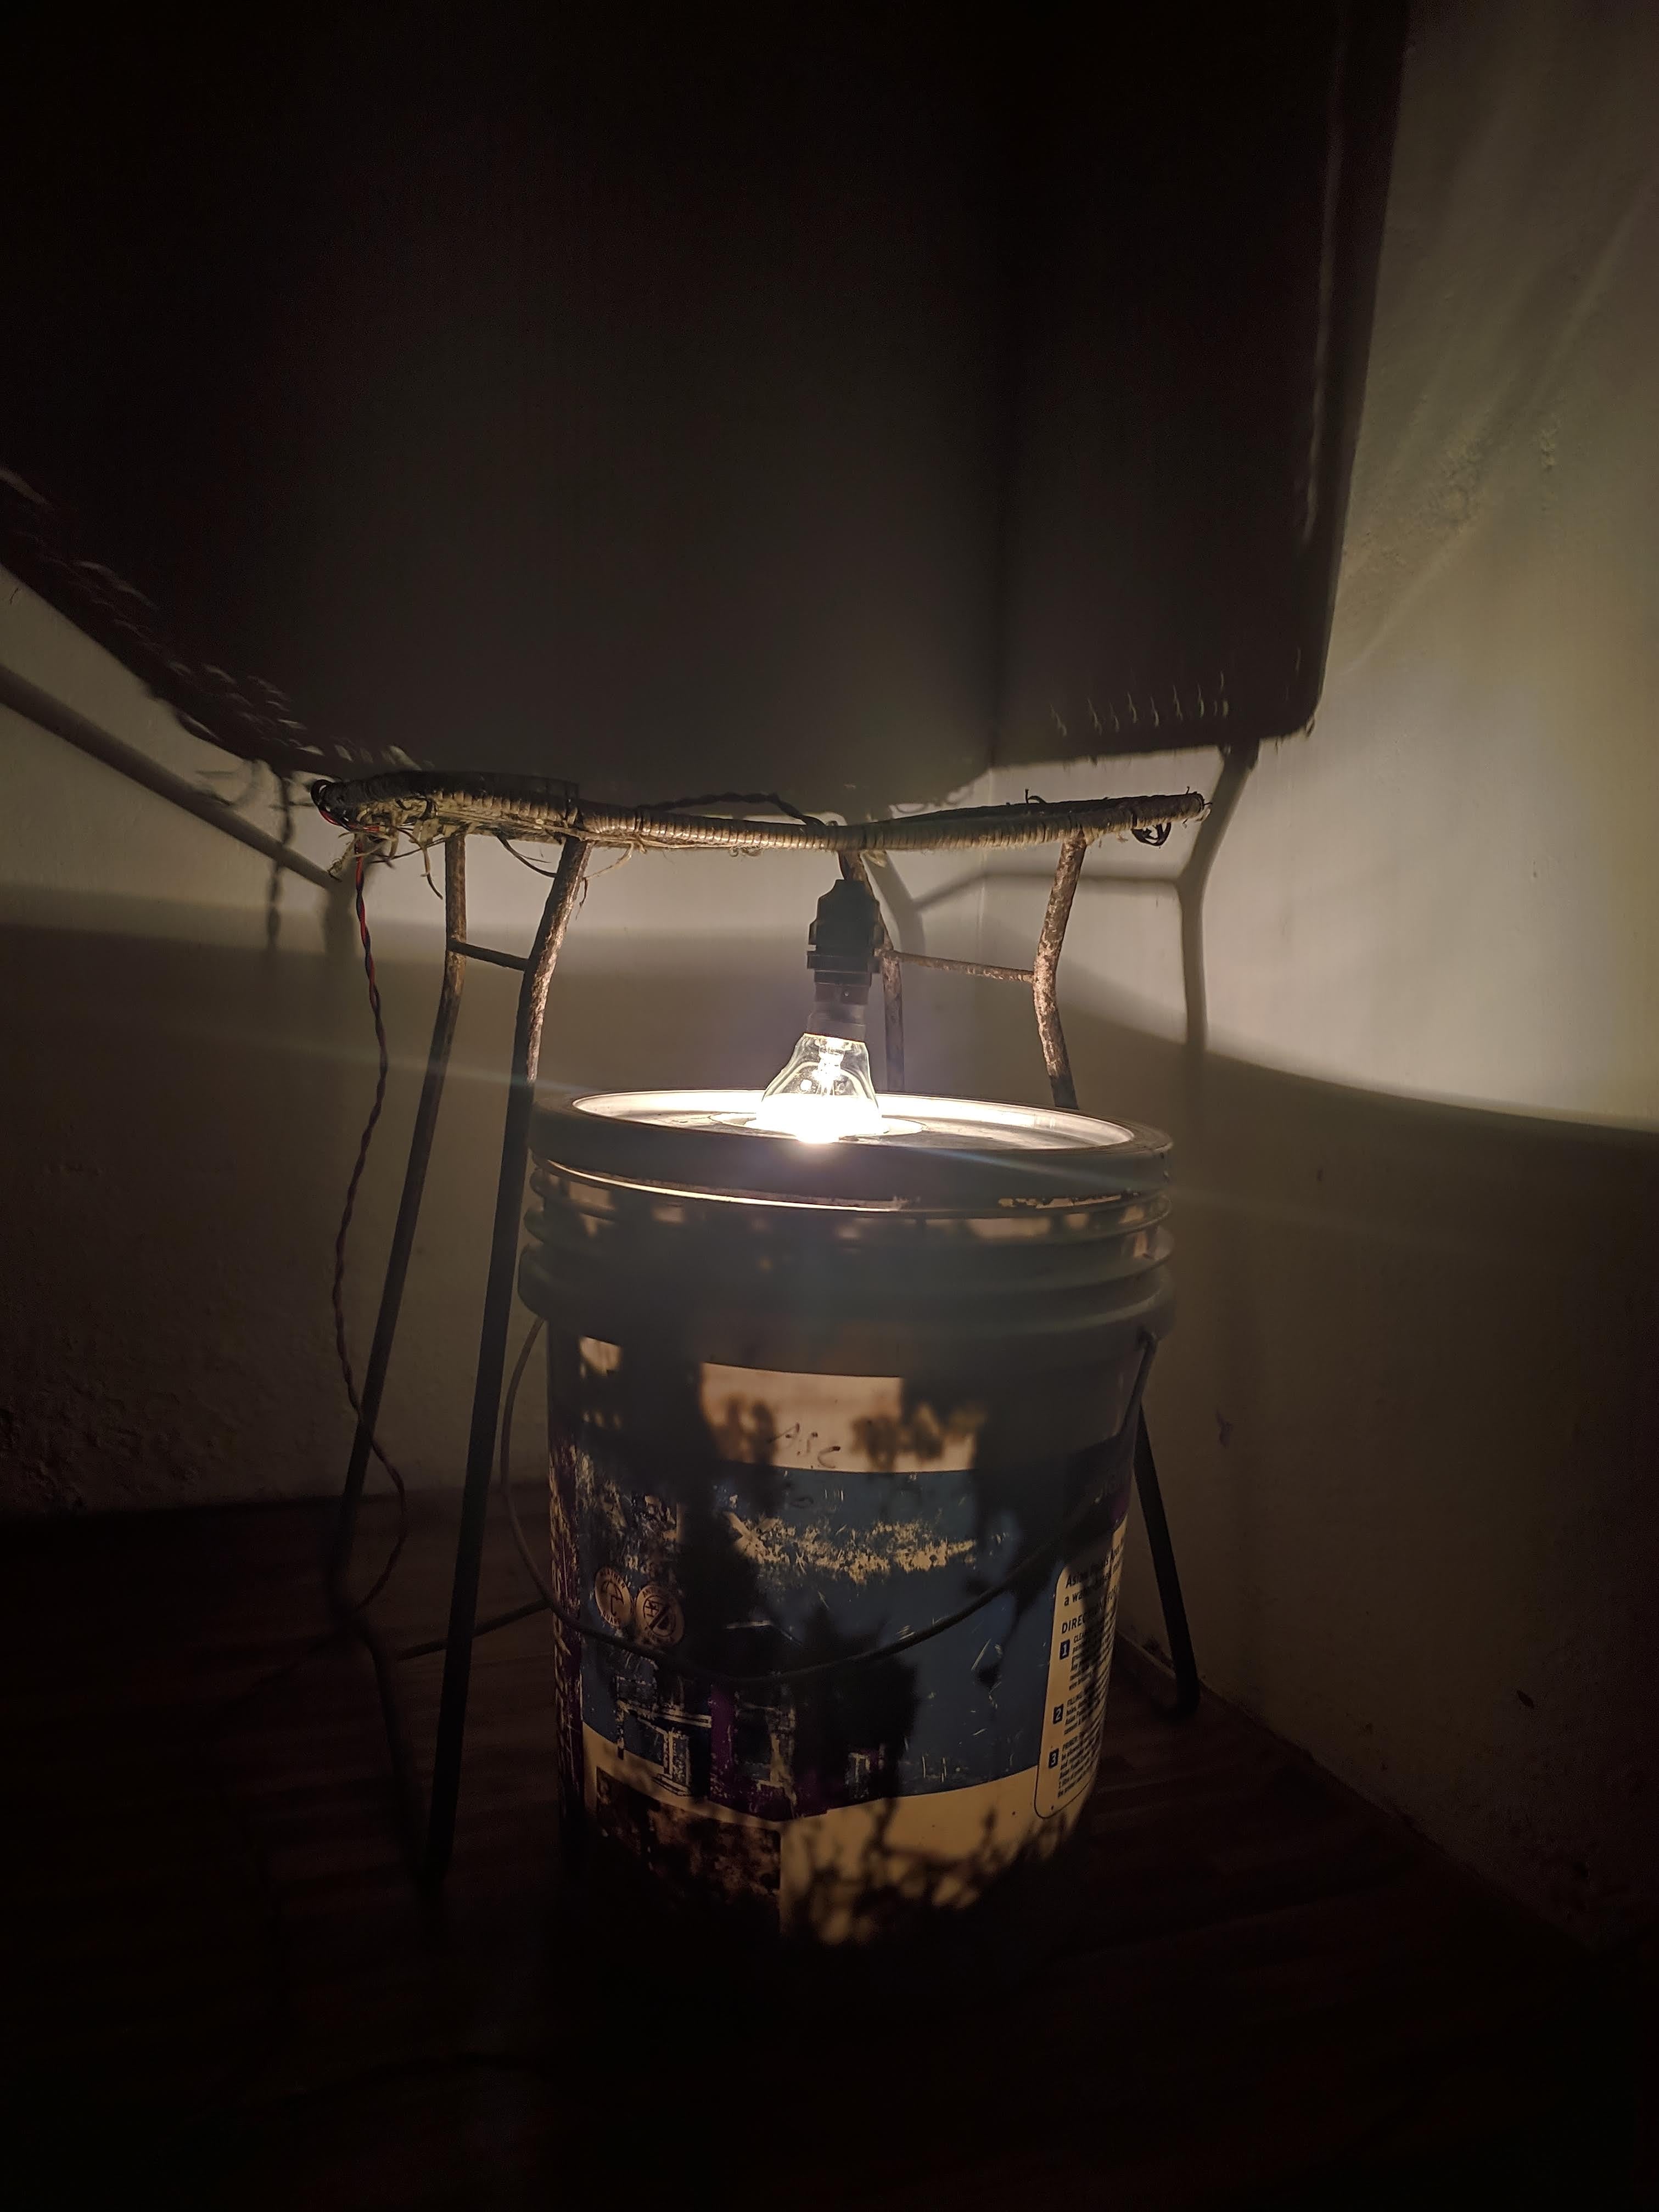
The first prototype was a simple bucket and light bulb and checking out if the temperature would be enough. This doesn't have any micro controllers. The prime objective is to understand whether it can be controlled without a microcontroller. The result is - the bucket gets heated pretty fast, the ideal temperature and humidity for the eggs are 37.7°C and 57% humidity. This cannot be achieved without a controller.
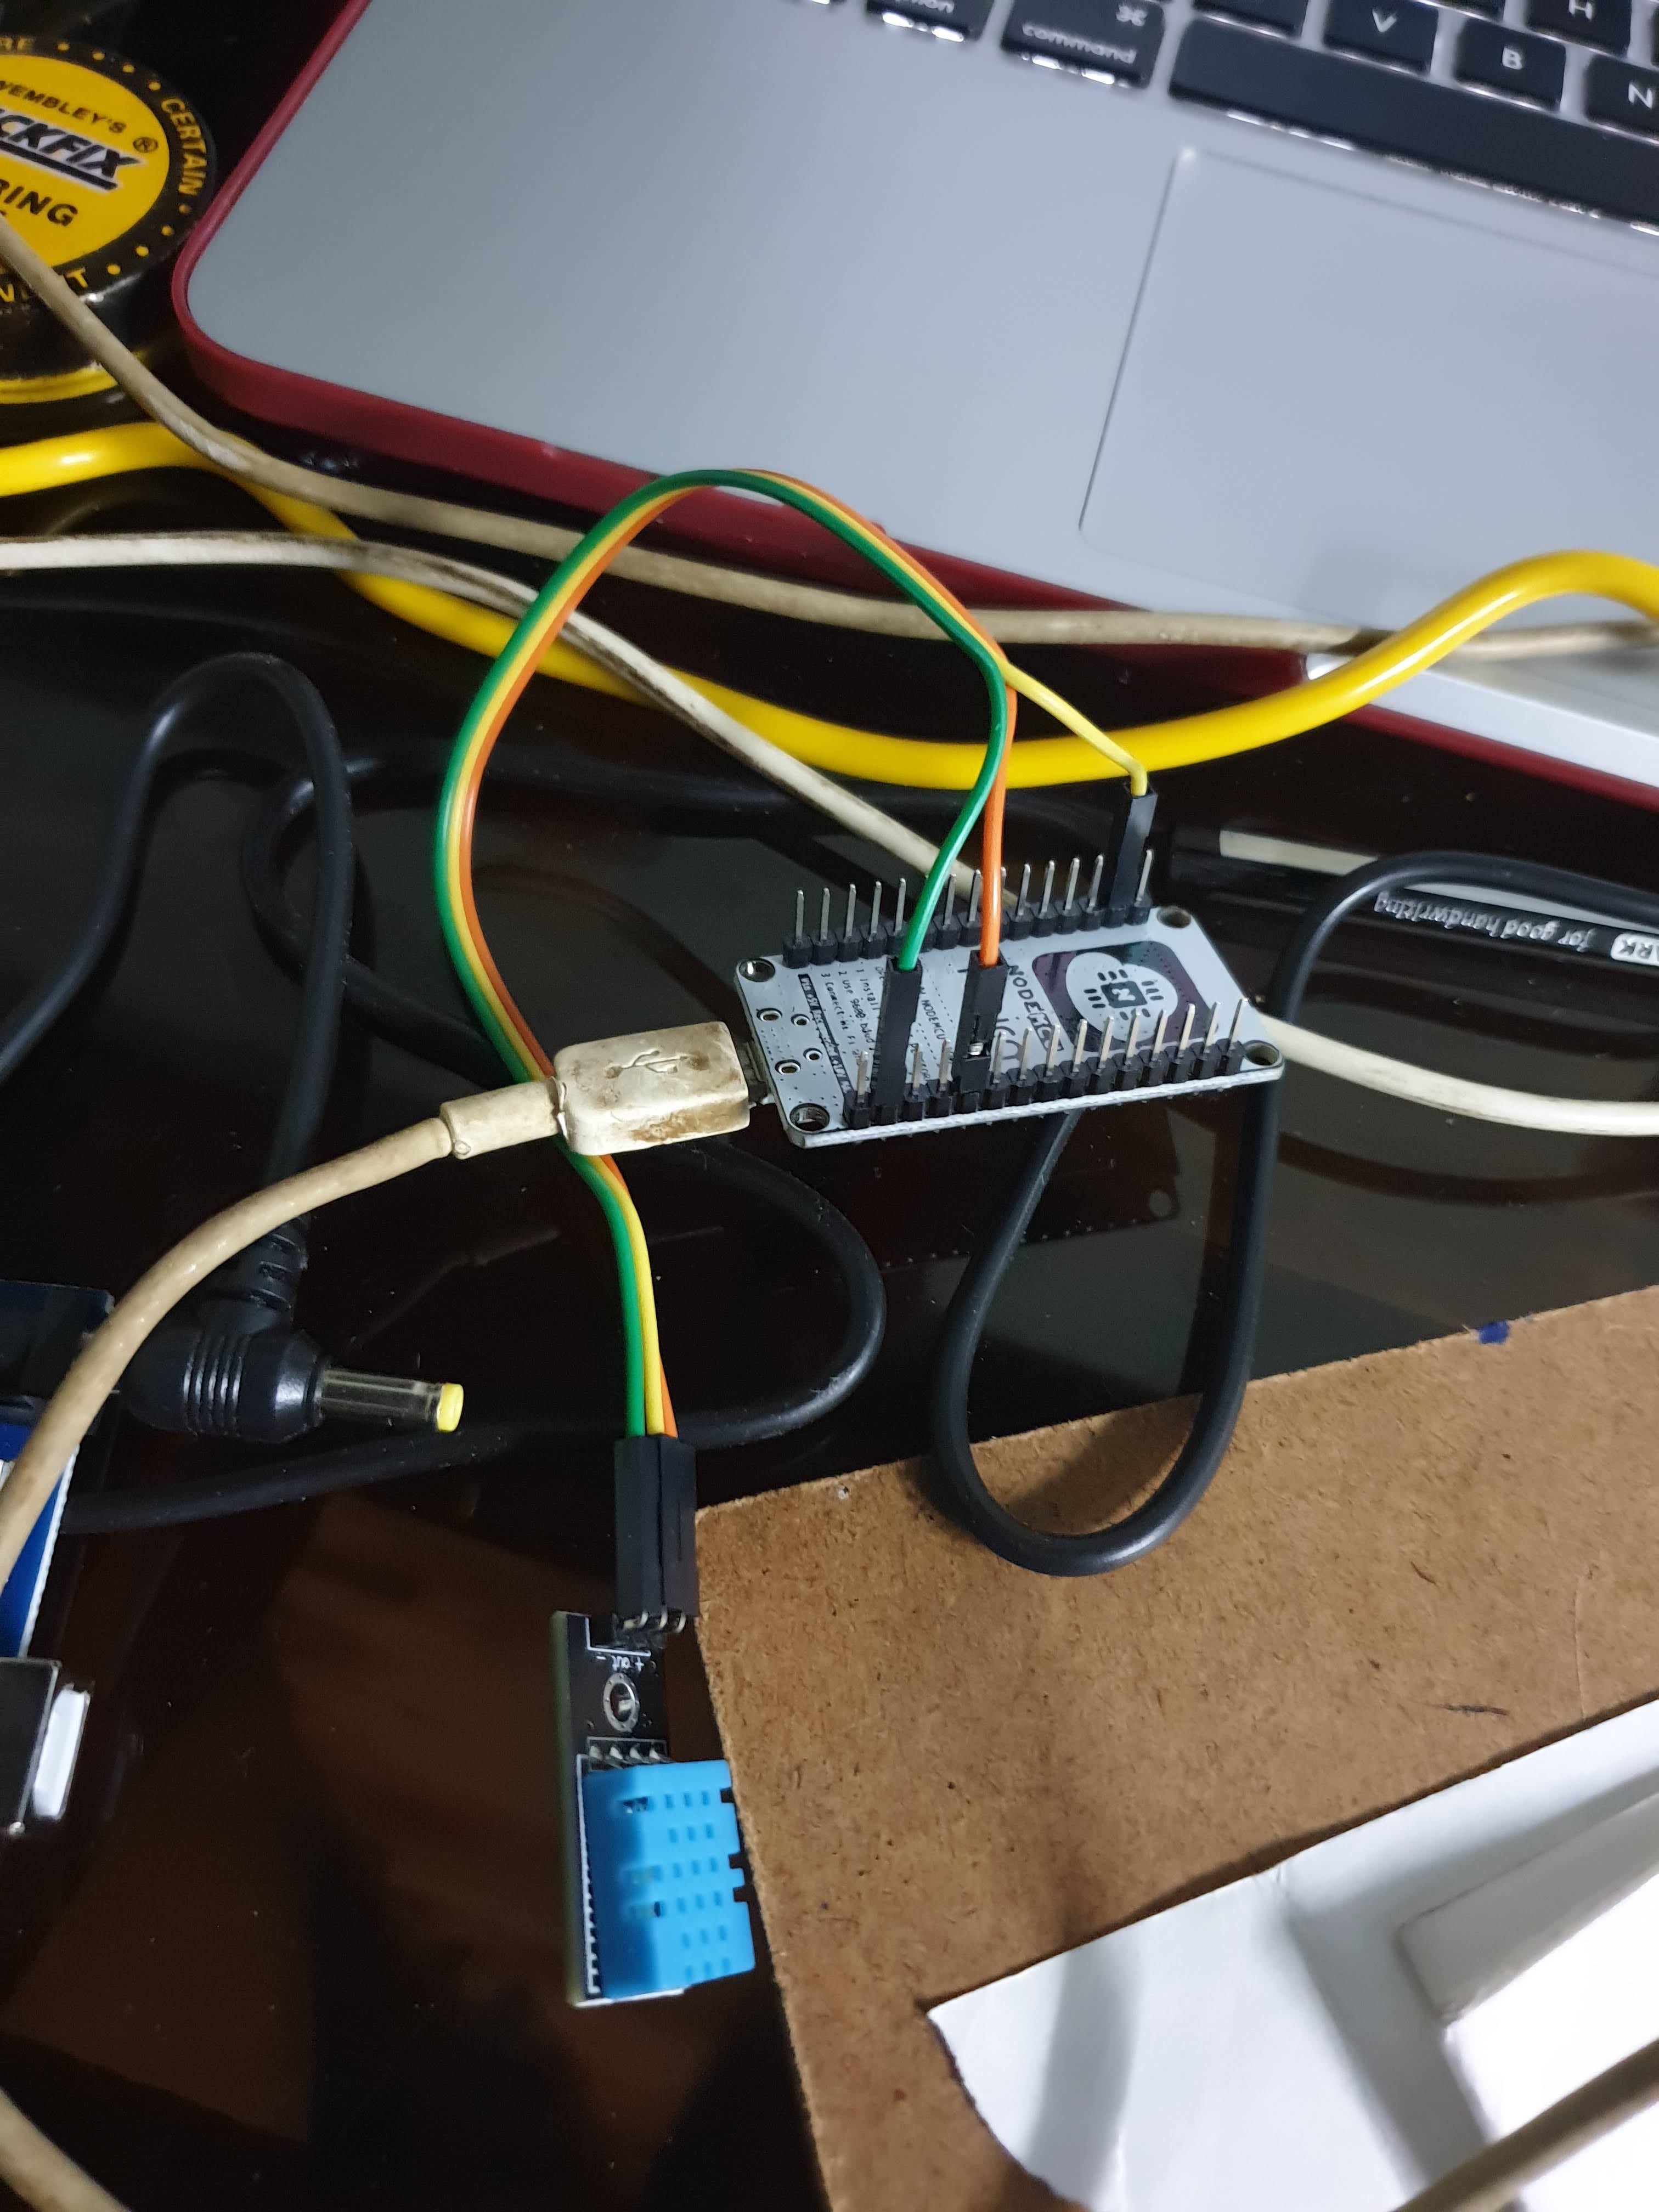
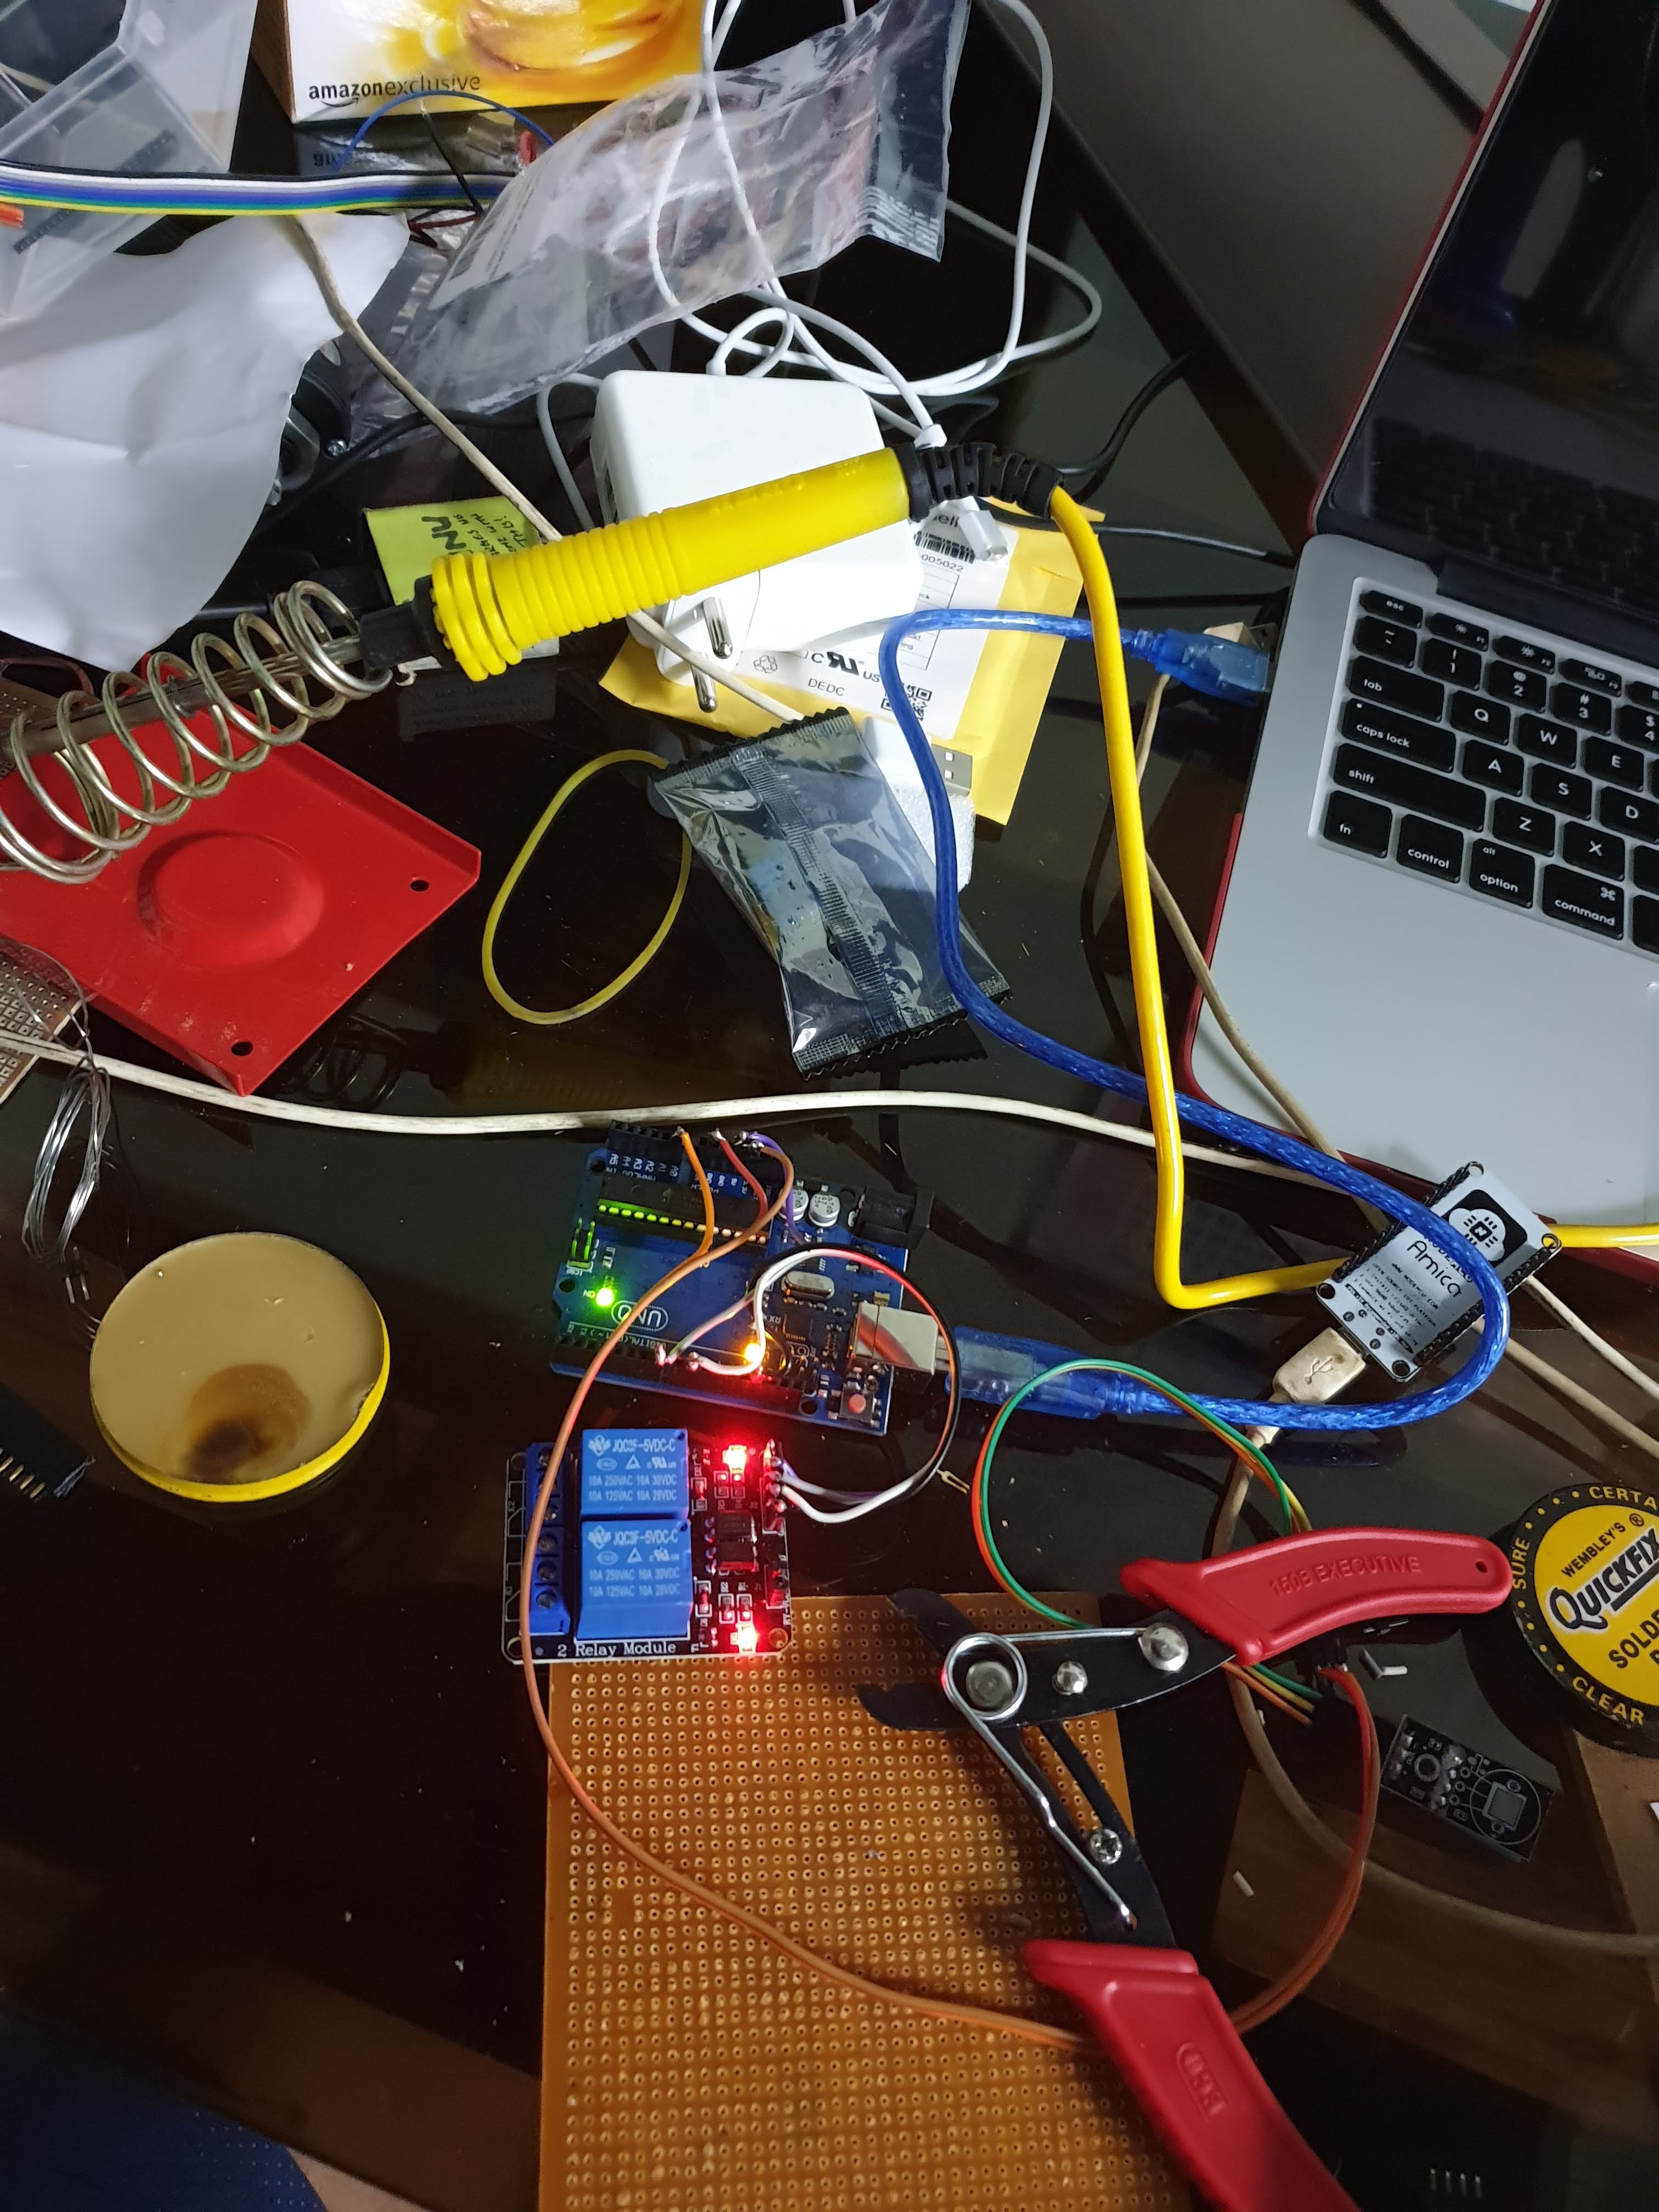
Both NodeMCU and Arduino were considered first, it was much easier to just start with arduino and move on to ESP later on when its capabilities like WiFi and IoT are actually required. A first prototype was made using simple relay, temperature sensor and moisture sensor to control the temperature and humidity in closed loop - commonly called bang bang control. There was no way I could implement a more complex algorithm without increasing the overall cost. The ideal temperature control algorithm would have been PID control but would require more expensive components that can be controlled through PWM signals.
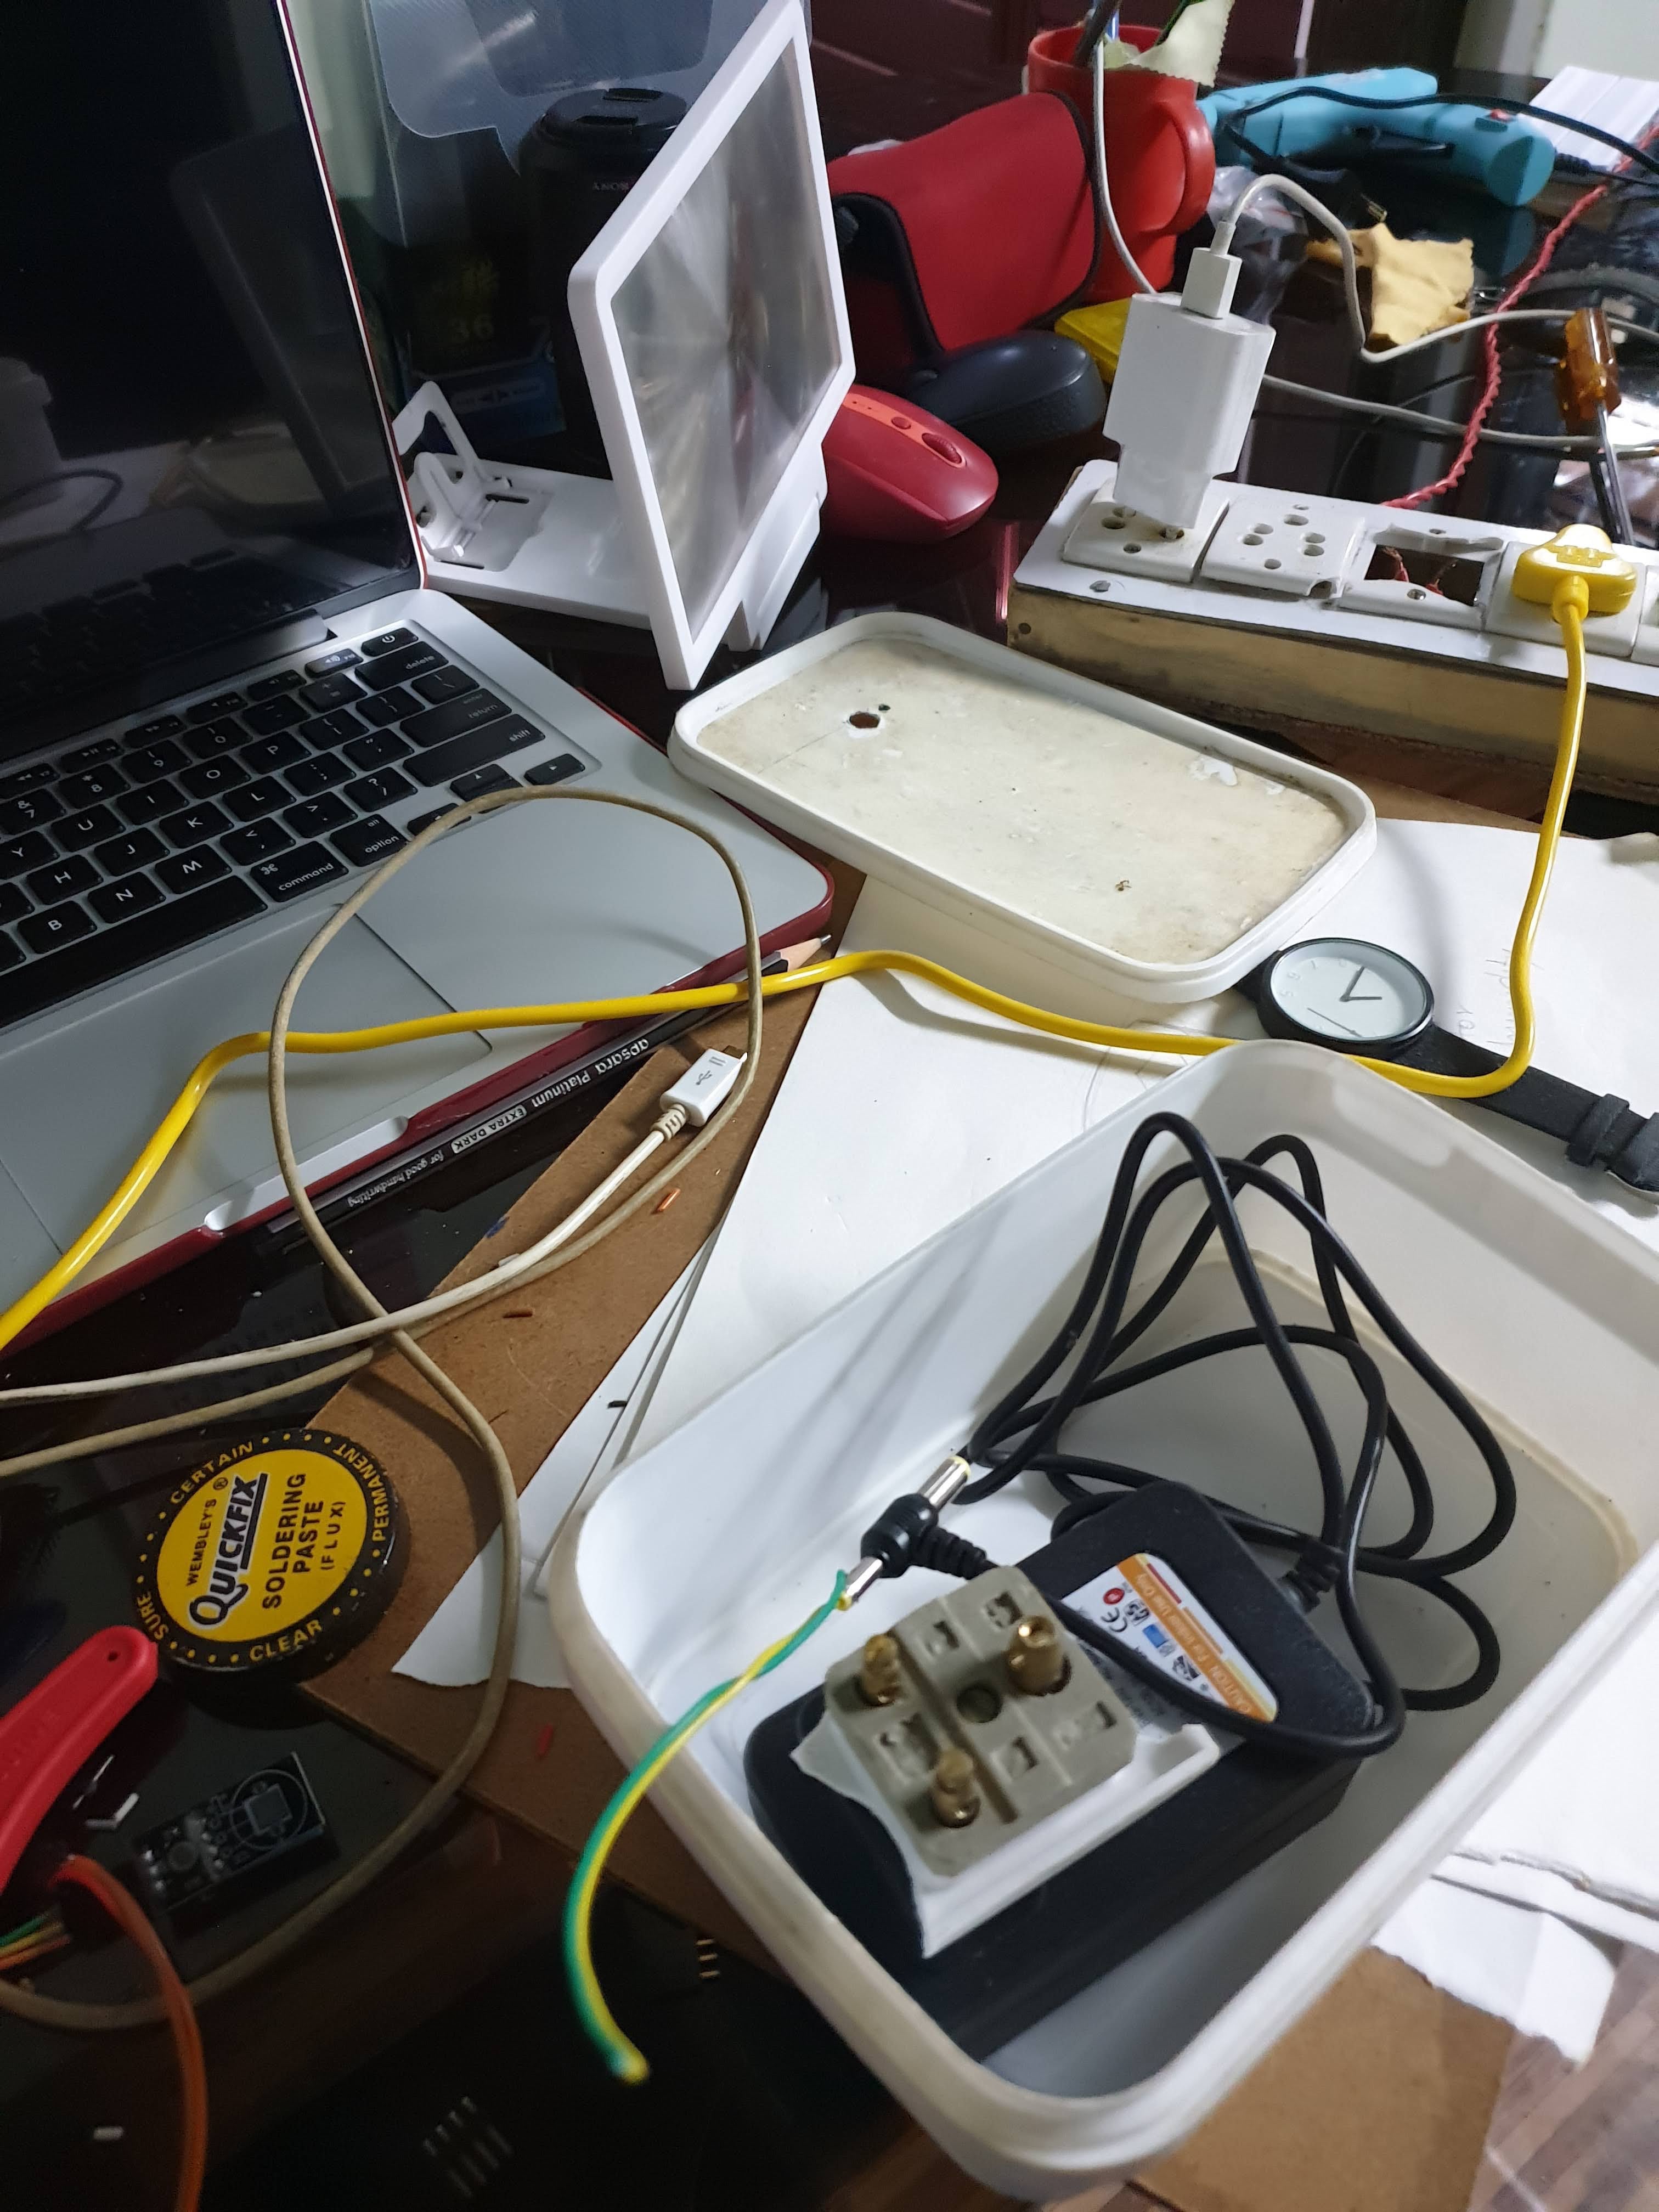
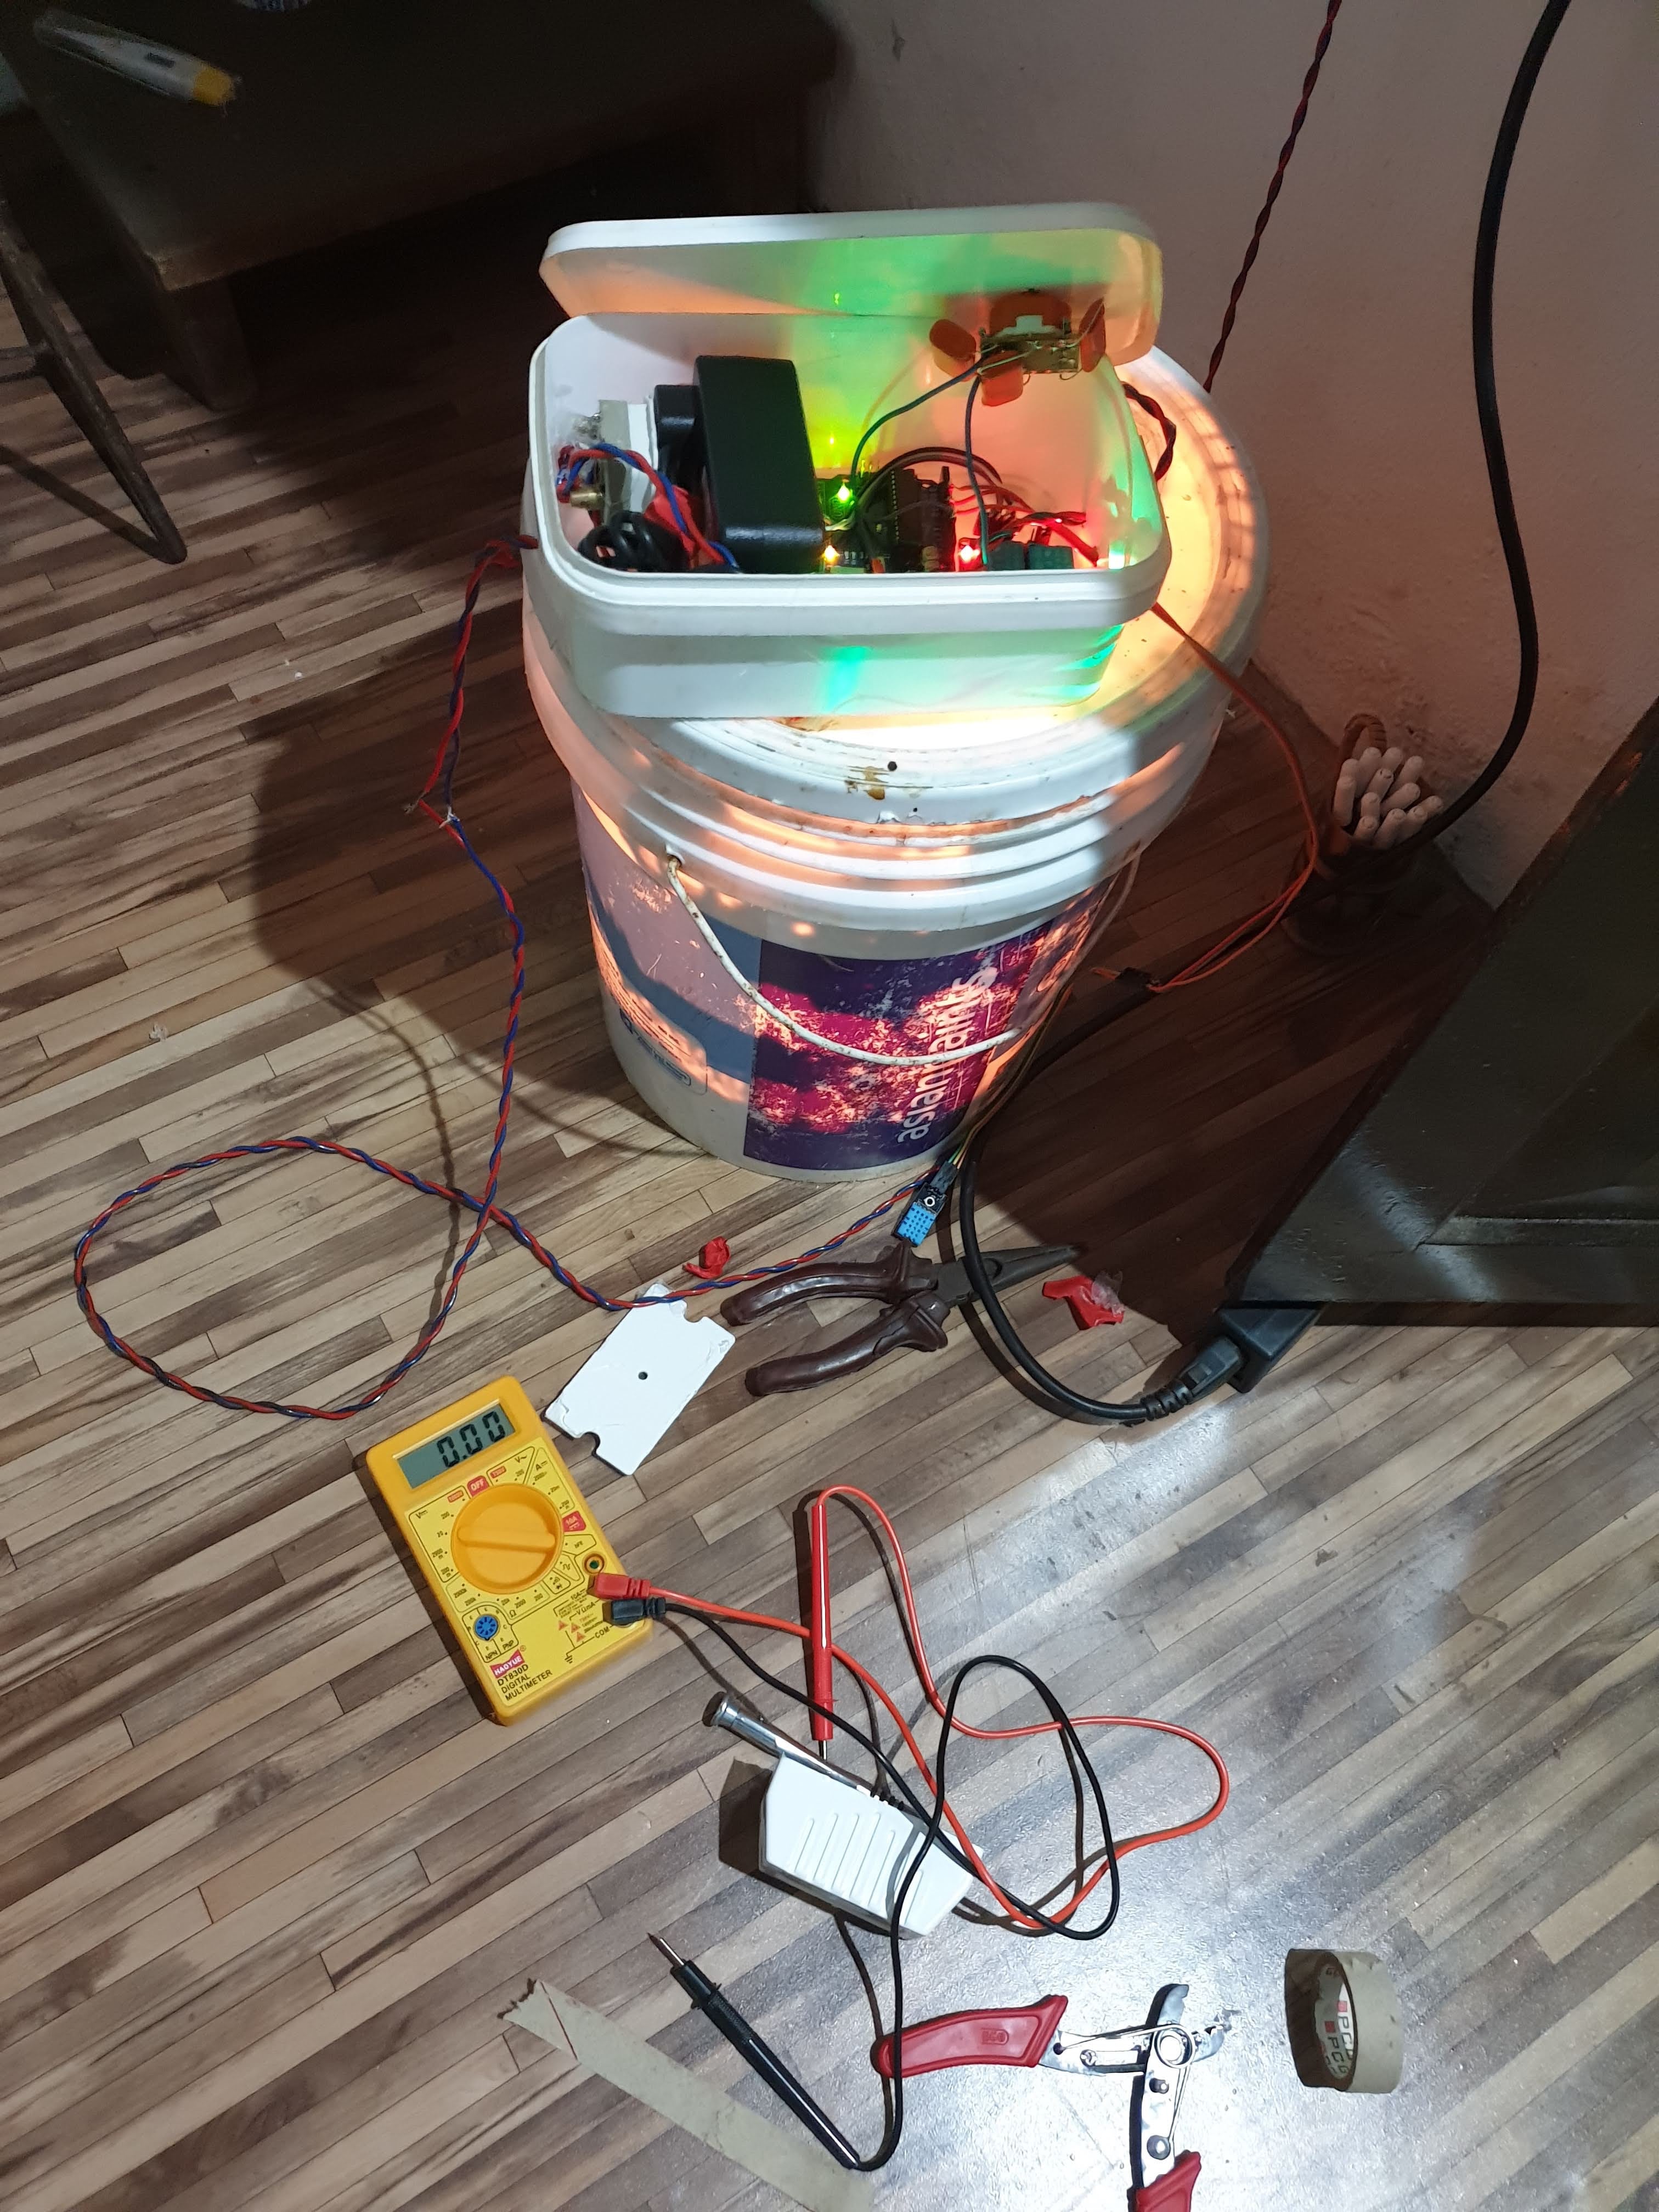
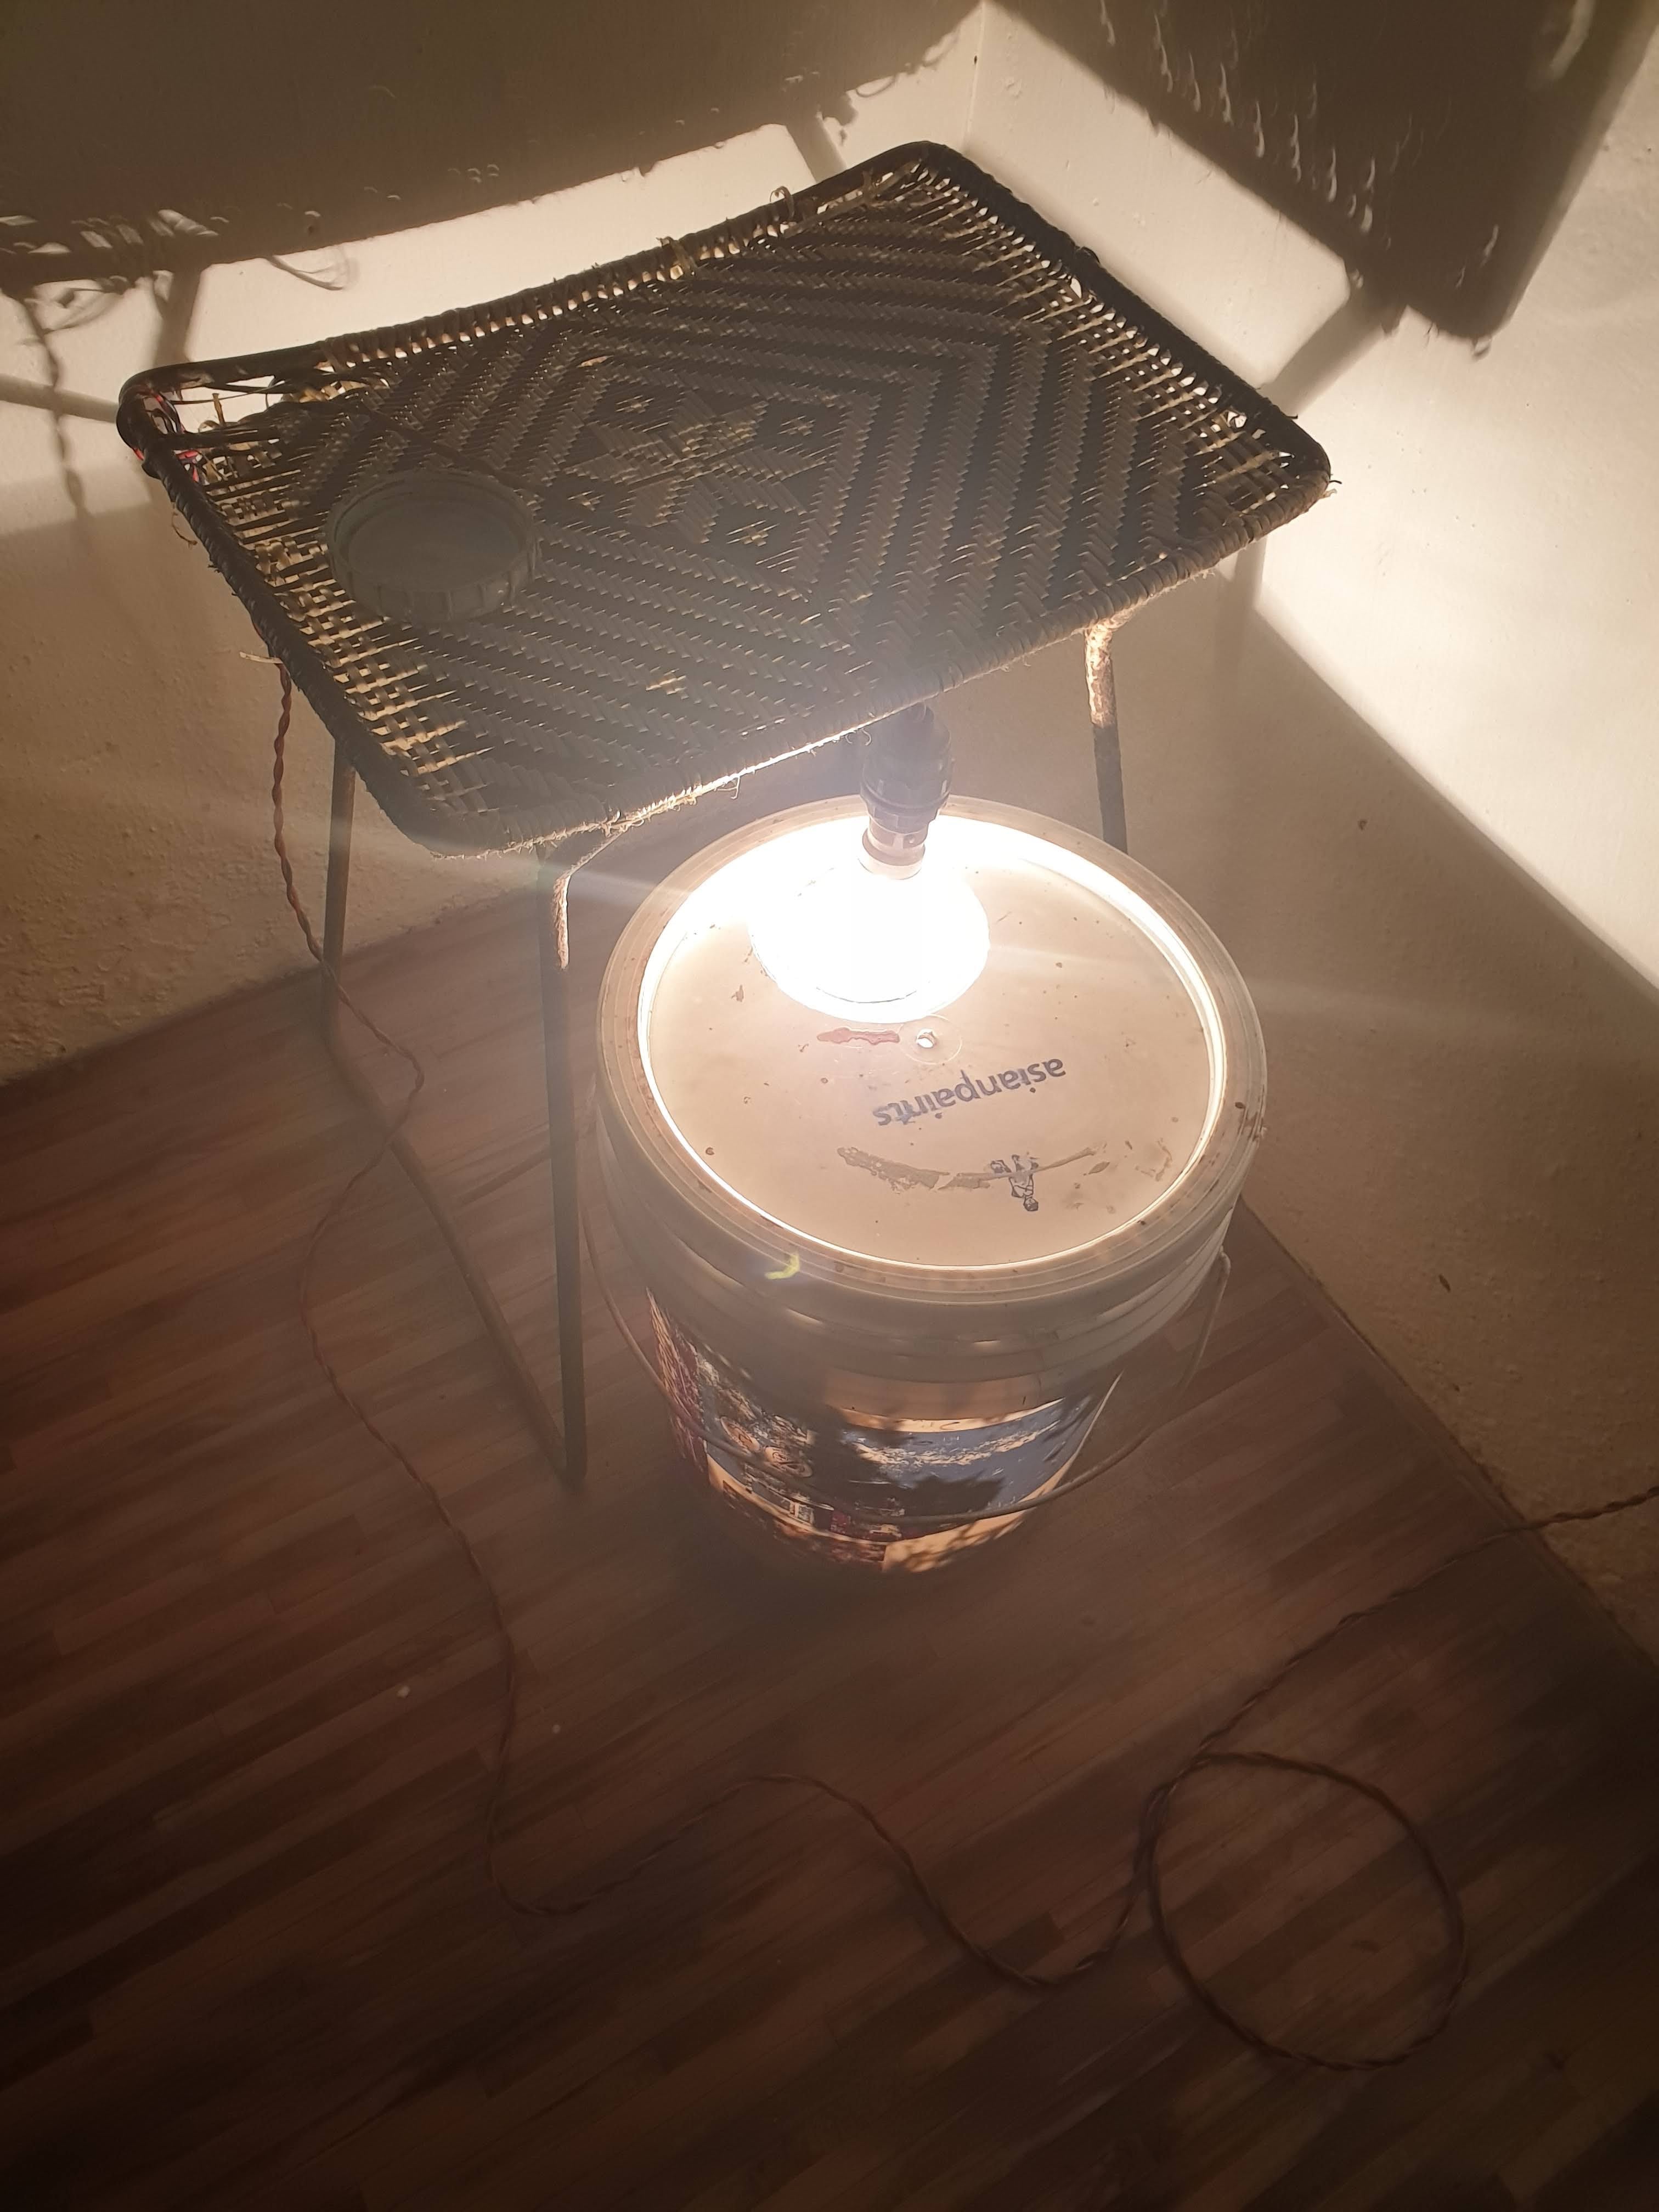
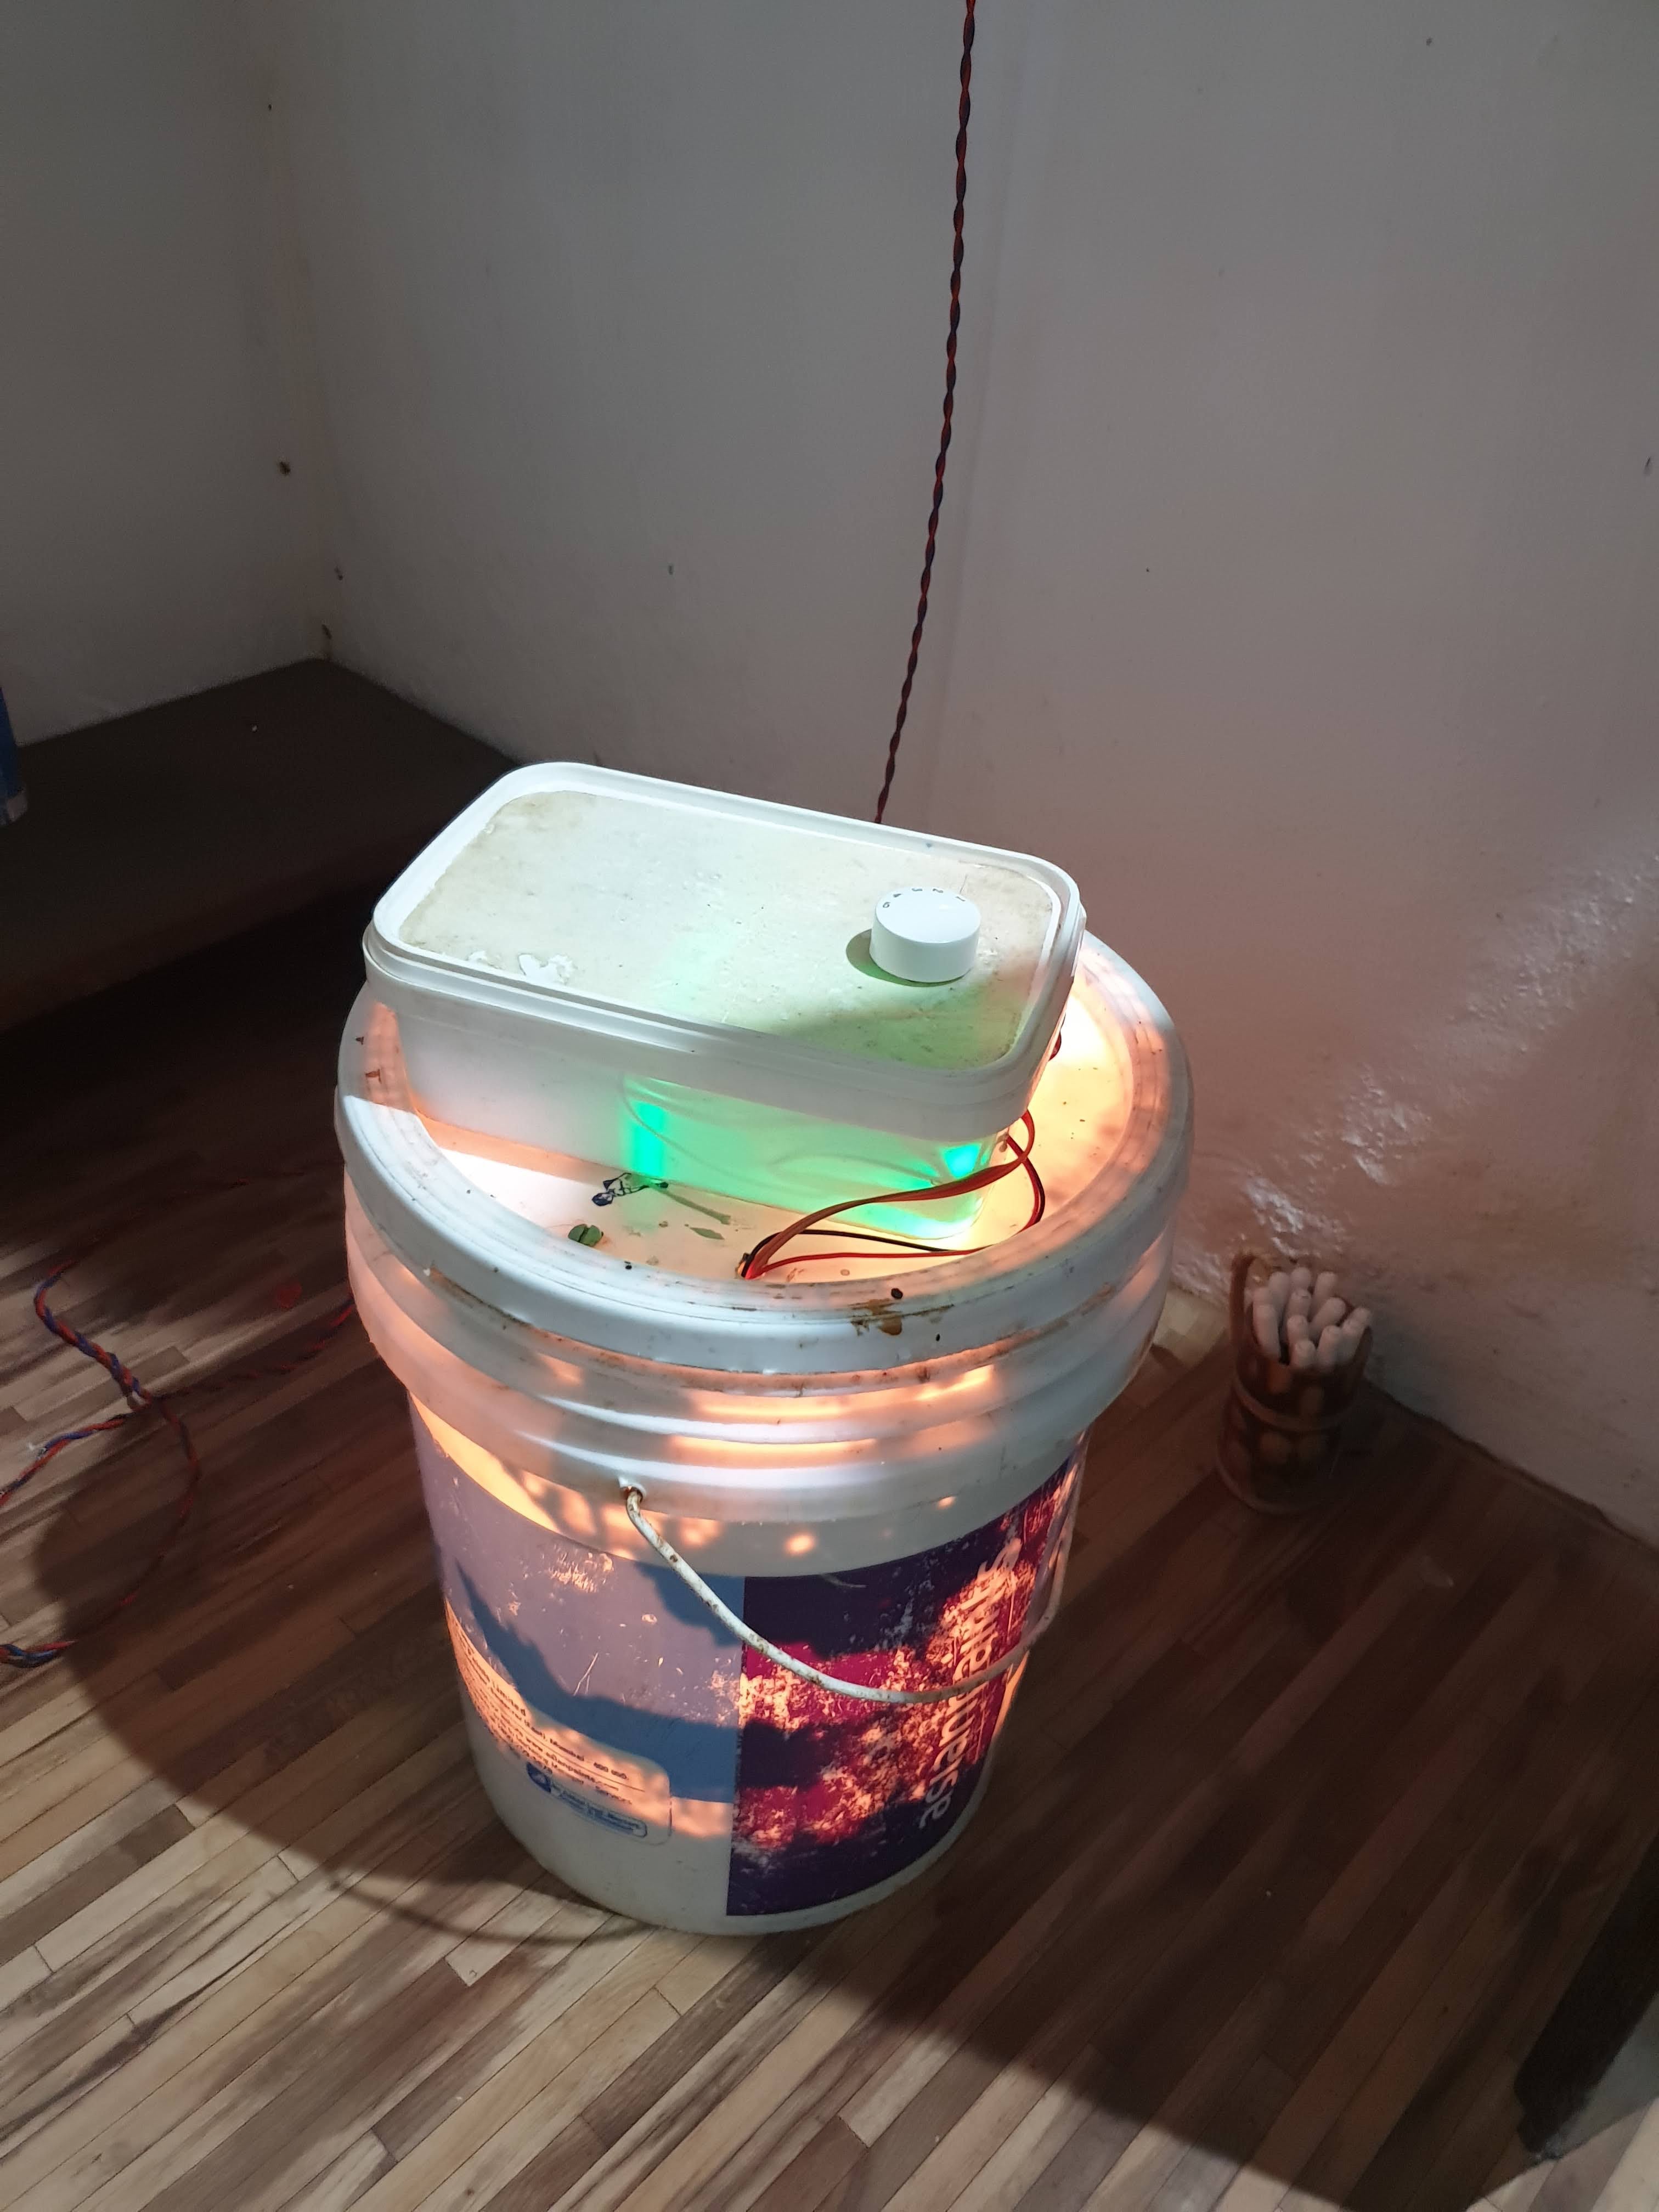
Assembling the controller in the paint bucket. A small ice cream container was used to contain all the electronics - a fan regulator is used to control the intensity of the light - this can be increased or decreased - it helps with how fast the heat gets transferred - the temperature will anyway be maintained, but the speed of heat radiation might affect the eggs.
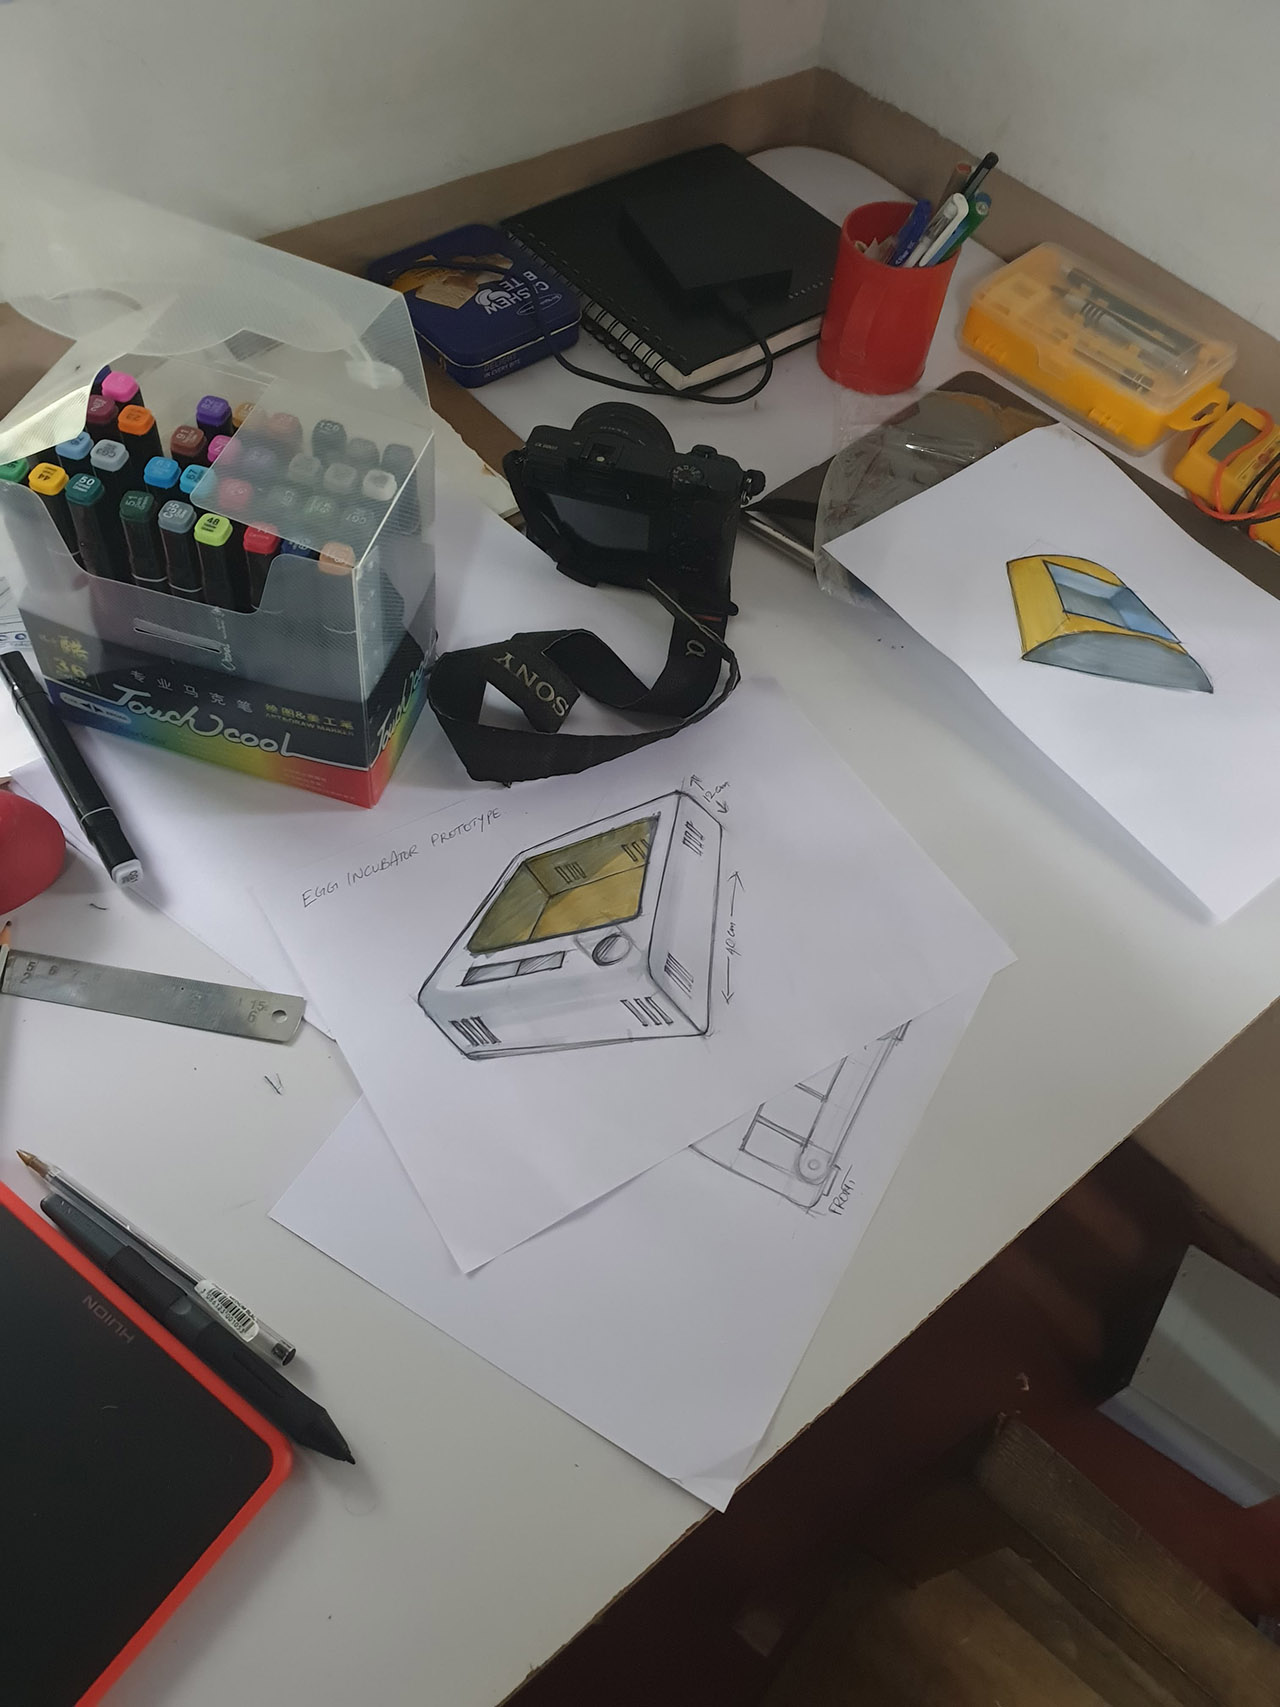
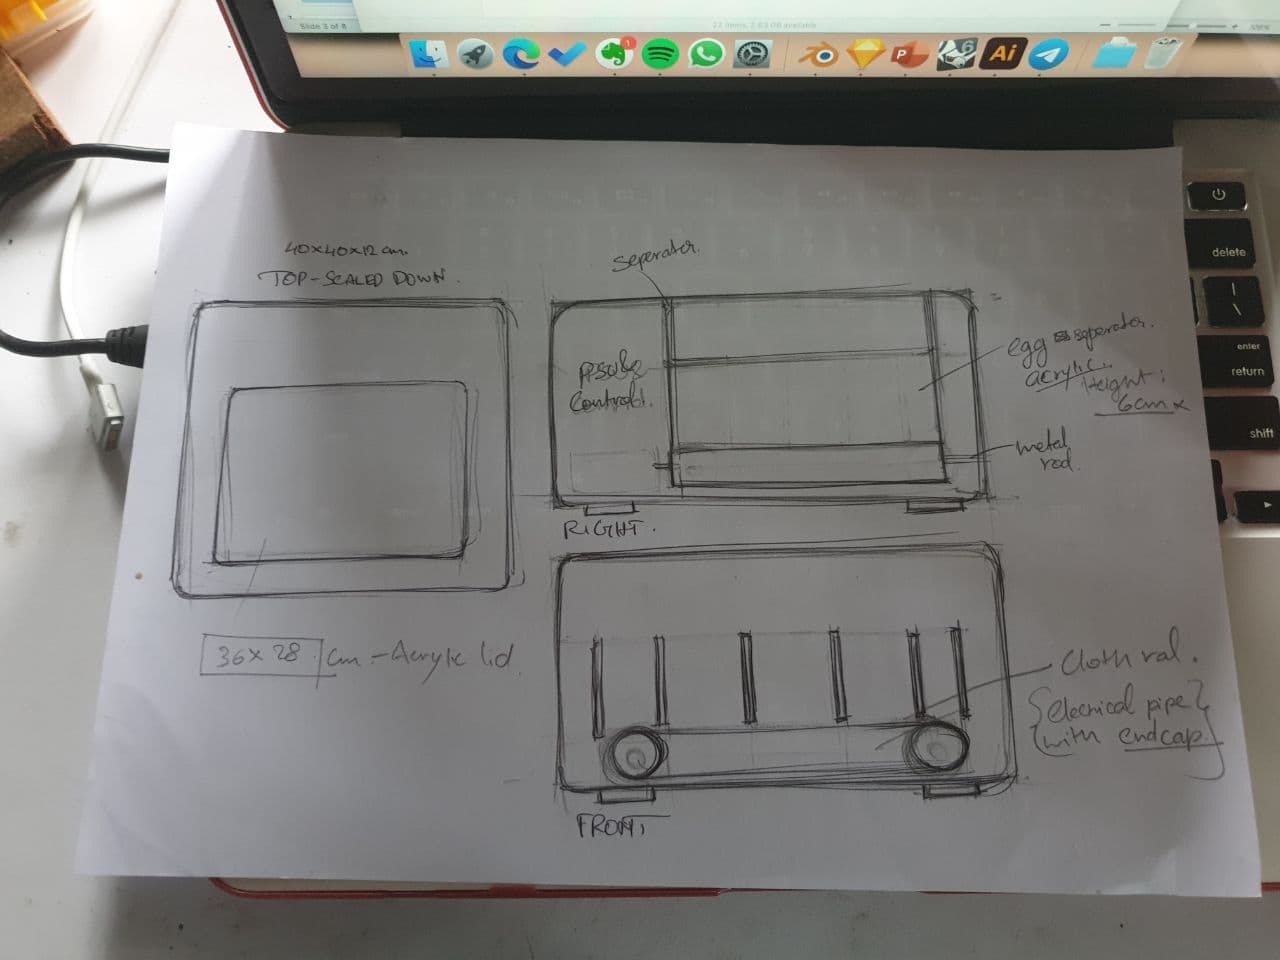
Sketches for a future prototype wherein all the features explored in the bucket prototype will be integrated and will be reduced into a much smaller form with further usability - like being able to see the eggs without opening the incubator and having candlelight function to see the development of the eggs.
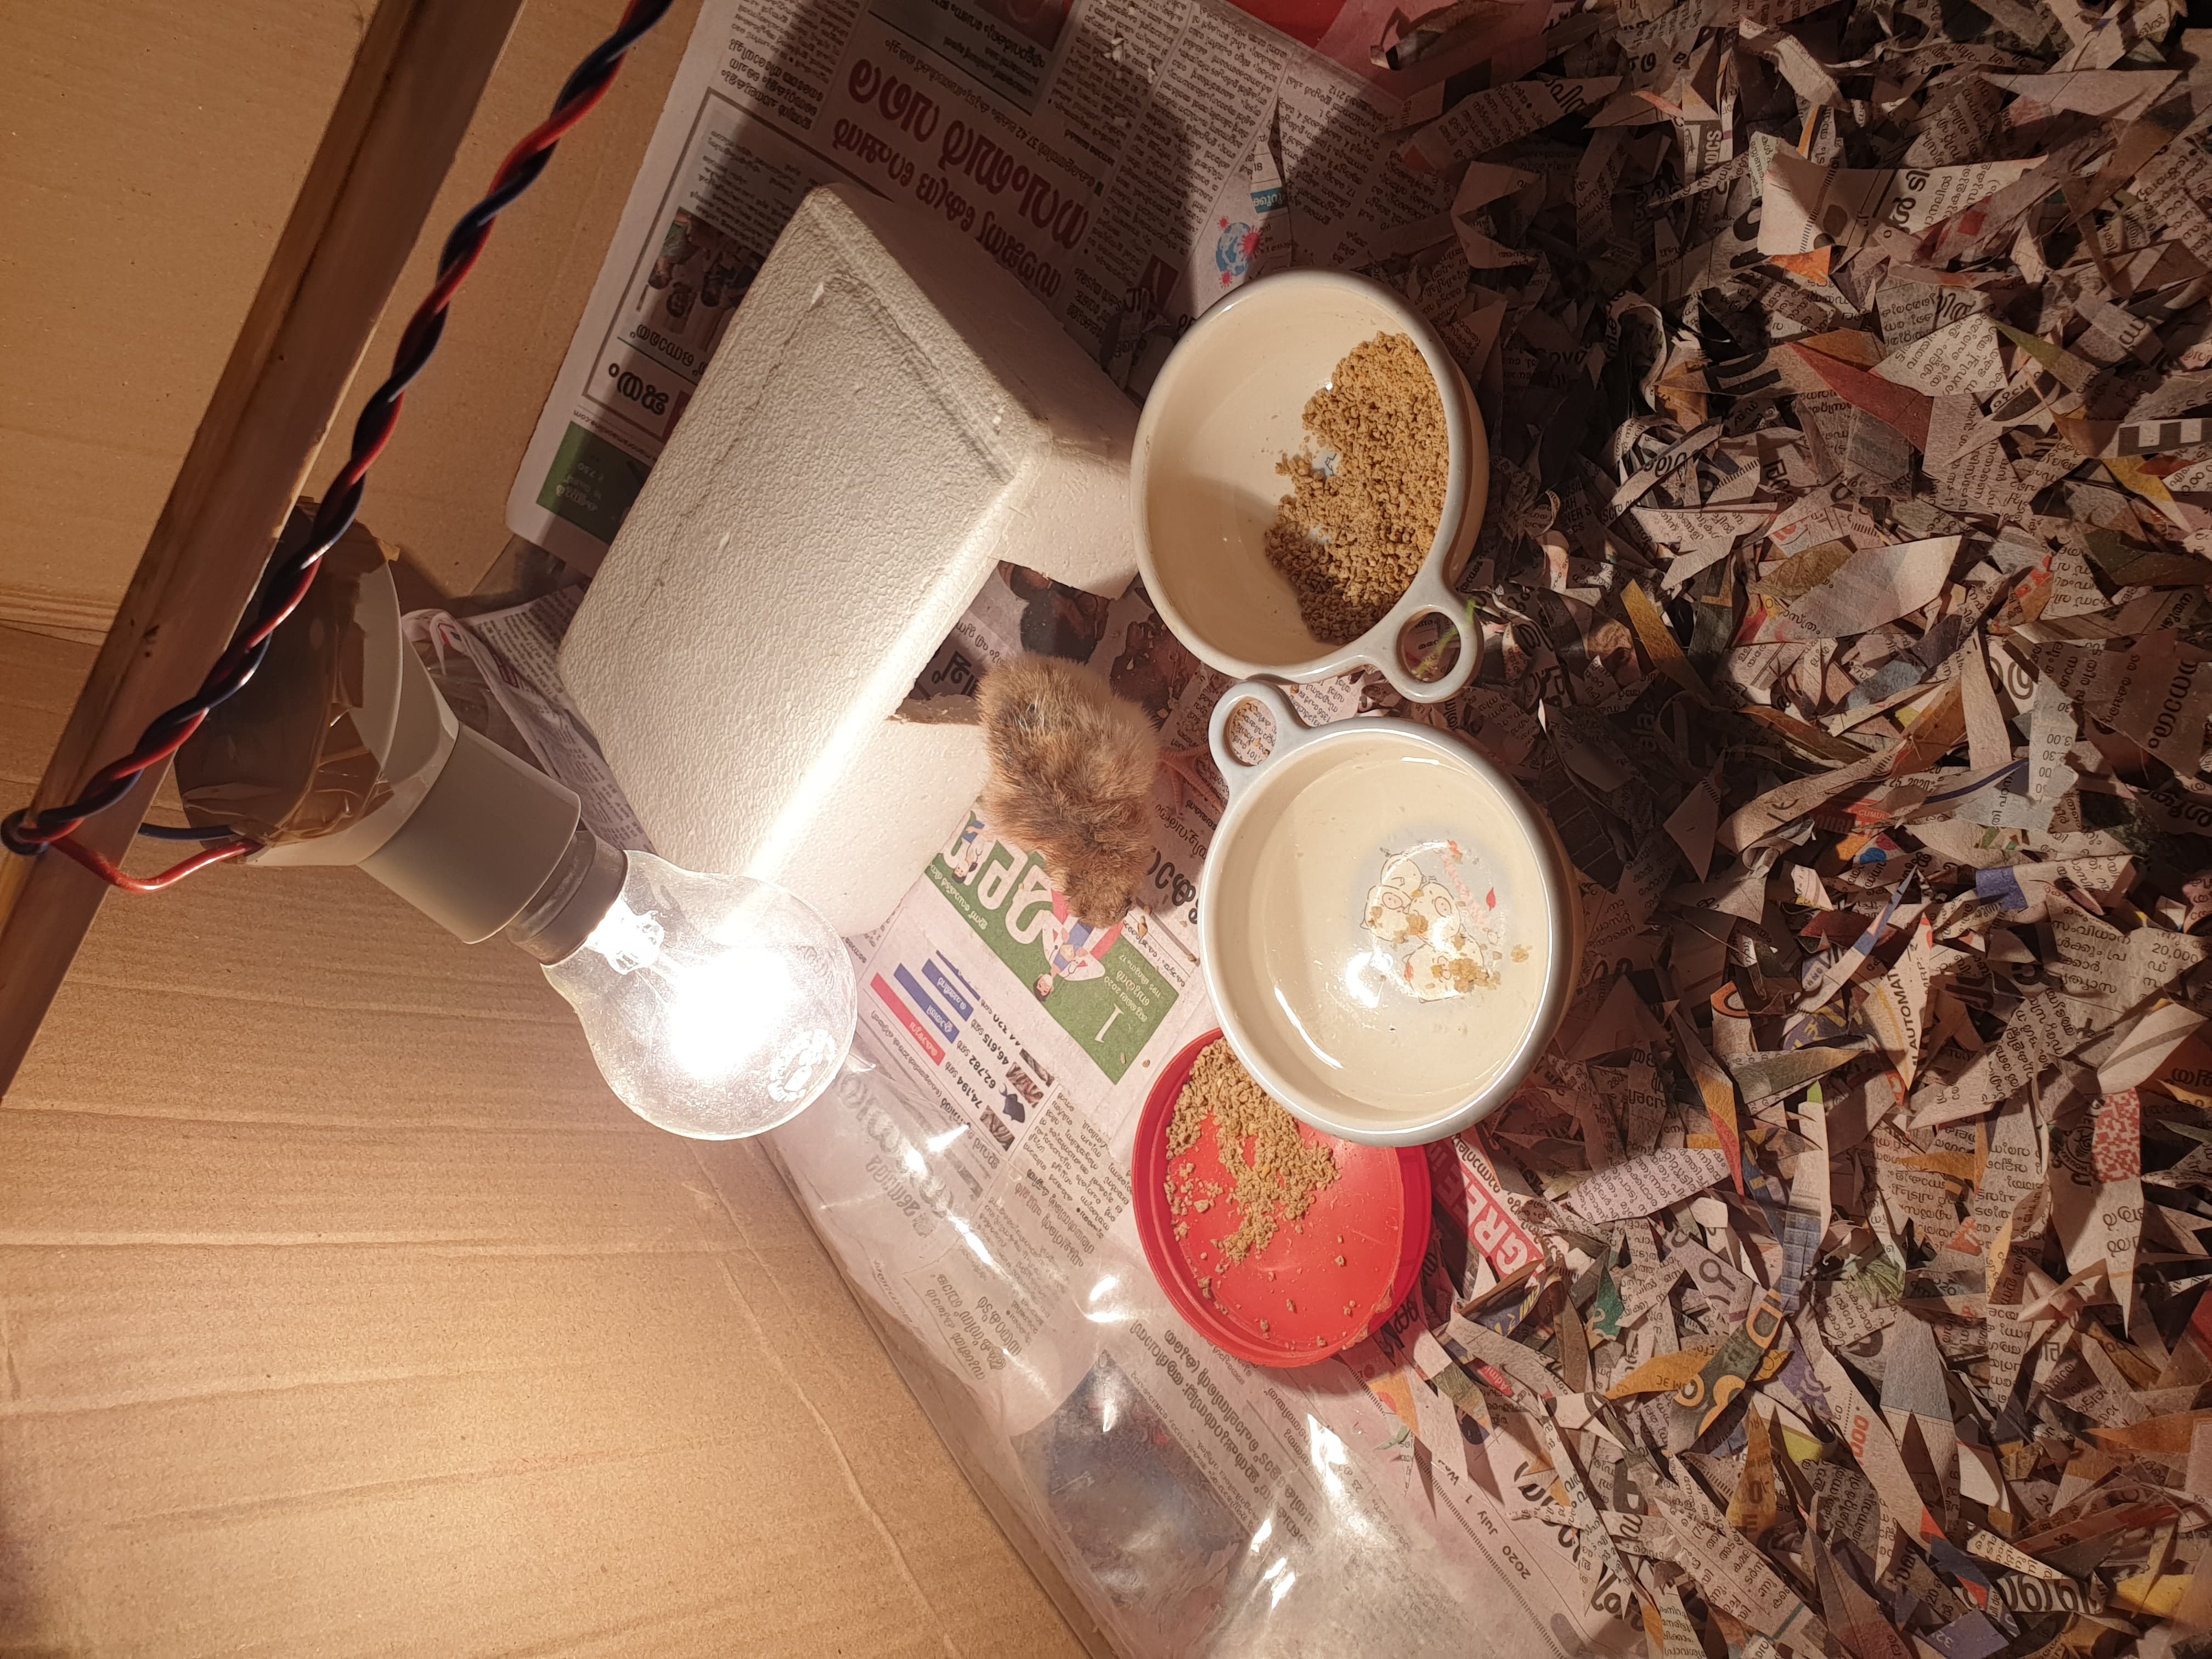
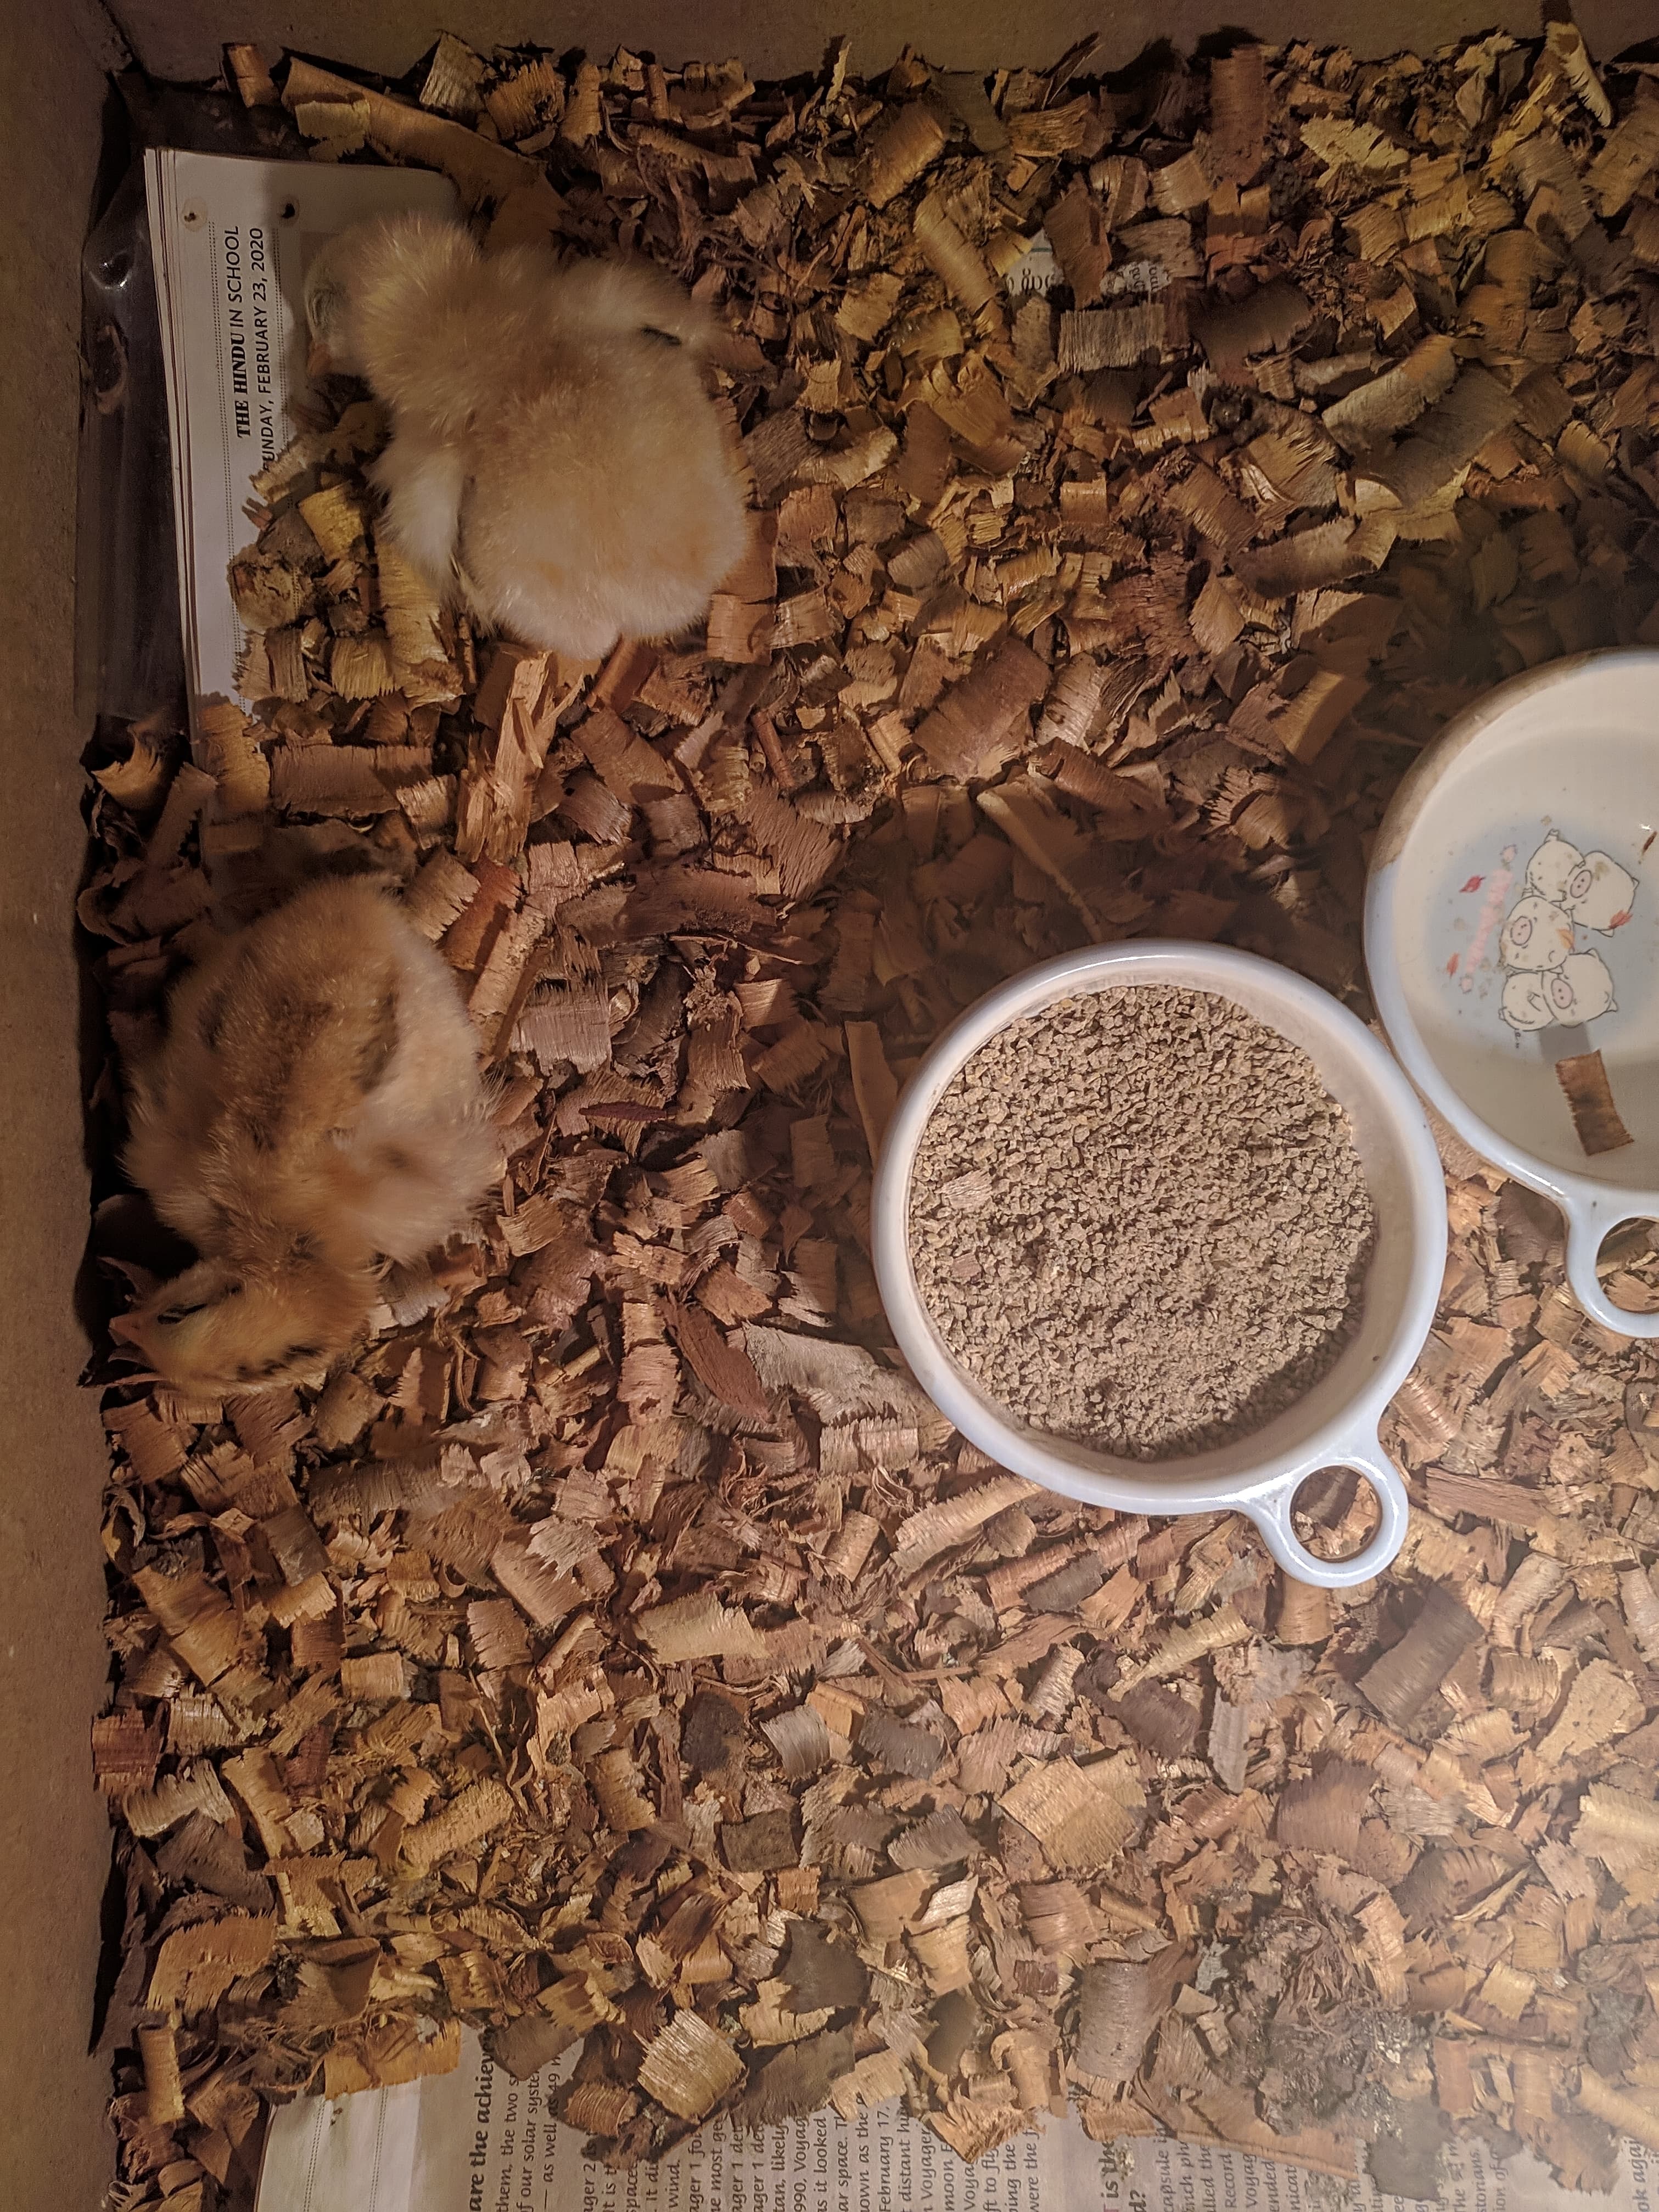
The final test prototype is made and assembled, kept on for 18 days to see if eggs actually hatch. The trial was succesful, but only partially. Out of 8 eggs only two hatched, which makes the incubator highly inefficient. The product needs a lot more tweaking to get the electronics right. The issues could also have been because of the frequent powercuts in the area - which wasn't considered originally as part of the design. Most commercially available incubators can keep the heat contained for 6-8 hours without active power.